BEHIND THE FICTION
Real Systems. Human Decisions
Explore the infrastructure, preparedness choices, community dynamics, and human behavior that ground the Ridge Universe in reality.
The Realities Behind the Stories
The Ridge Universe begins with a fictional grid failure, but the challenges its characters face are grounded in real systems and recognizable human behavior.
These articles examine what happens when water, power, communications, transportation, and supply chains become unreliable—and why equipment alone is never enough. The goal is not to predict one specific disaster. It is to better understand the decisions people and communities may face when familiar systems stop working.
By R.T. Fagan
•
October 24, 2026
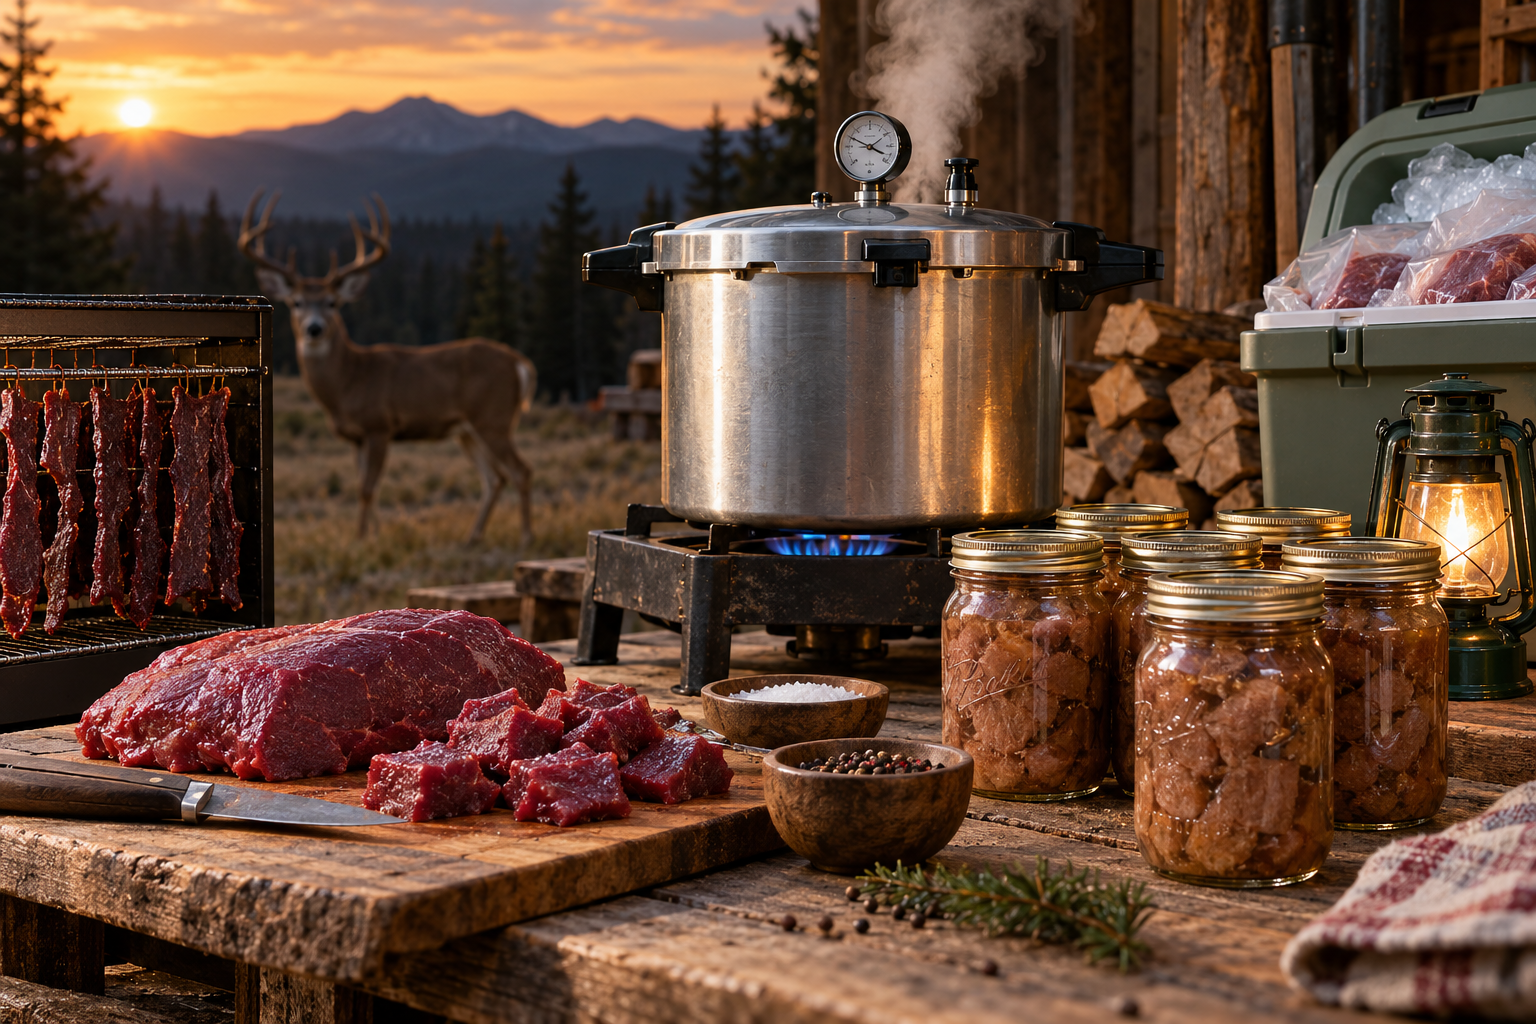
Learn the safest ways to preserve venison without grid power, including pressure canning with fuel, jerky, smoking, curing, ice and realistic emergency priorities.
By R.T. Fagan
•
October 19, 2026
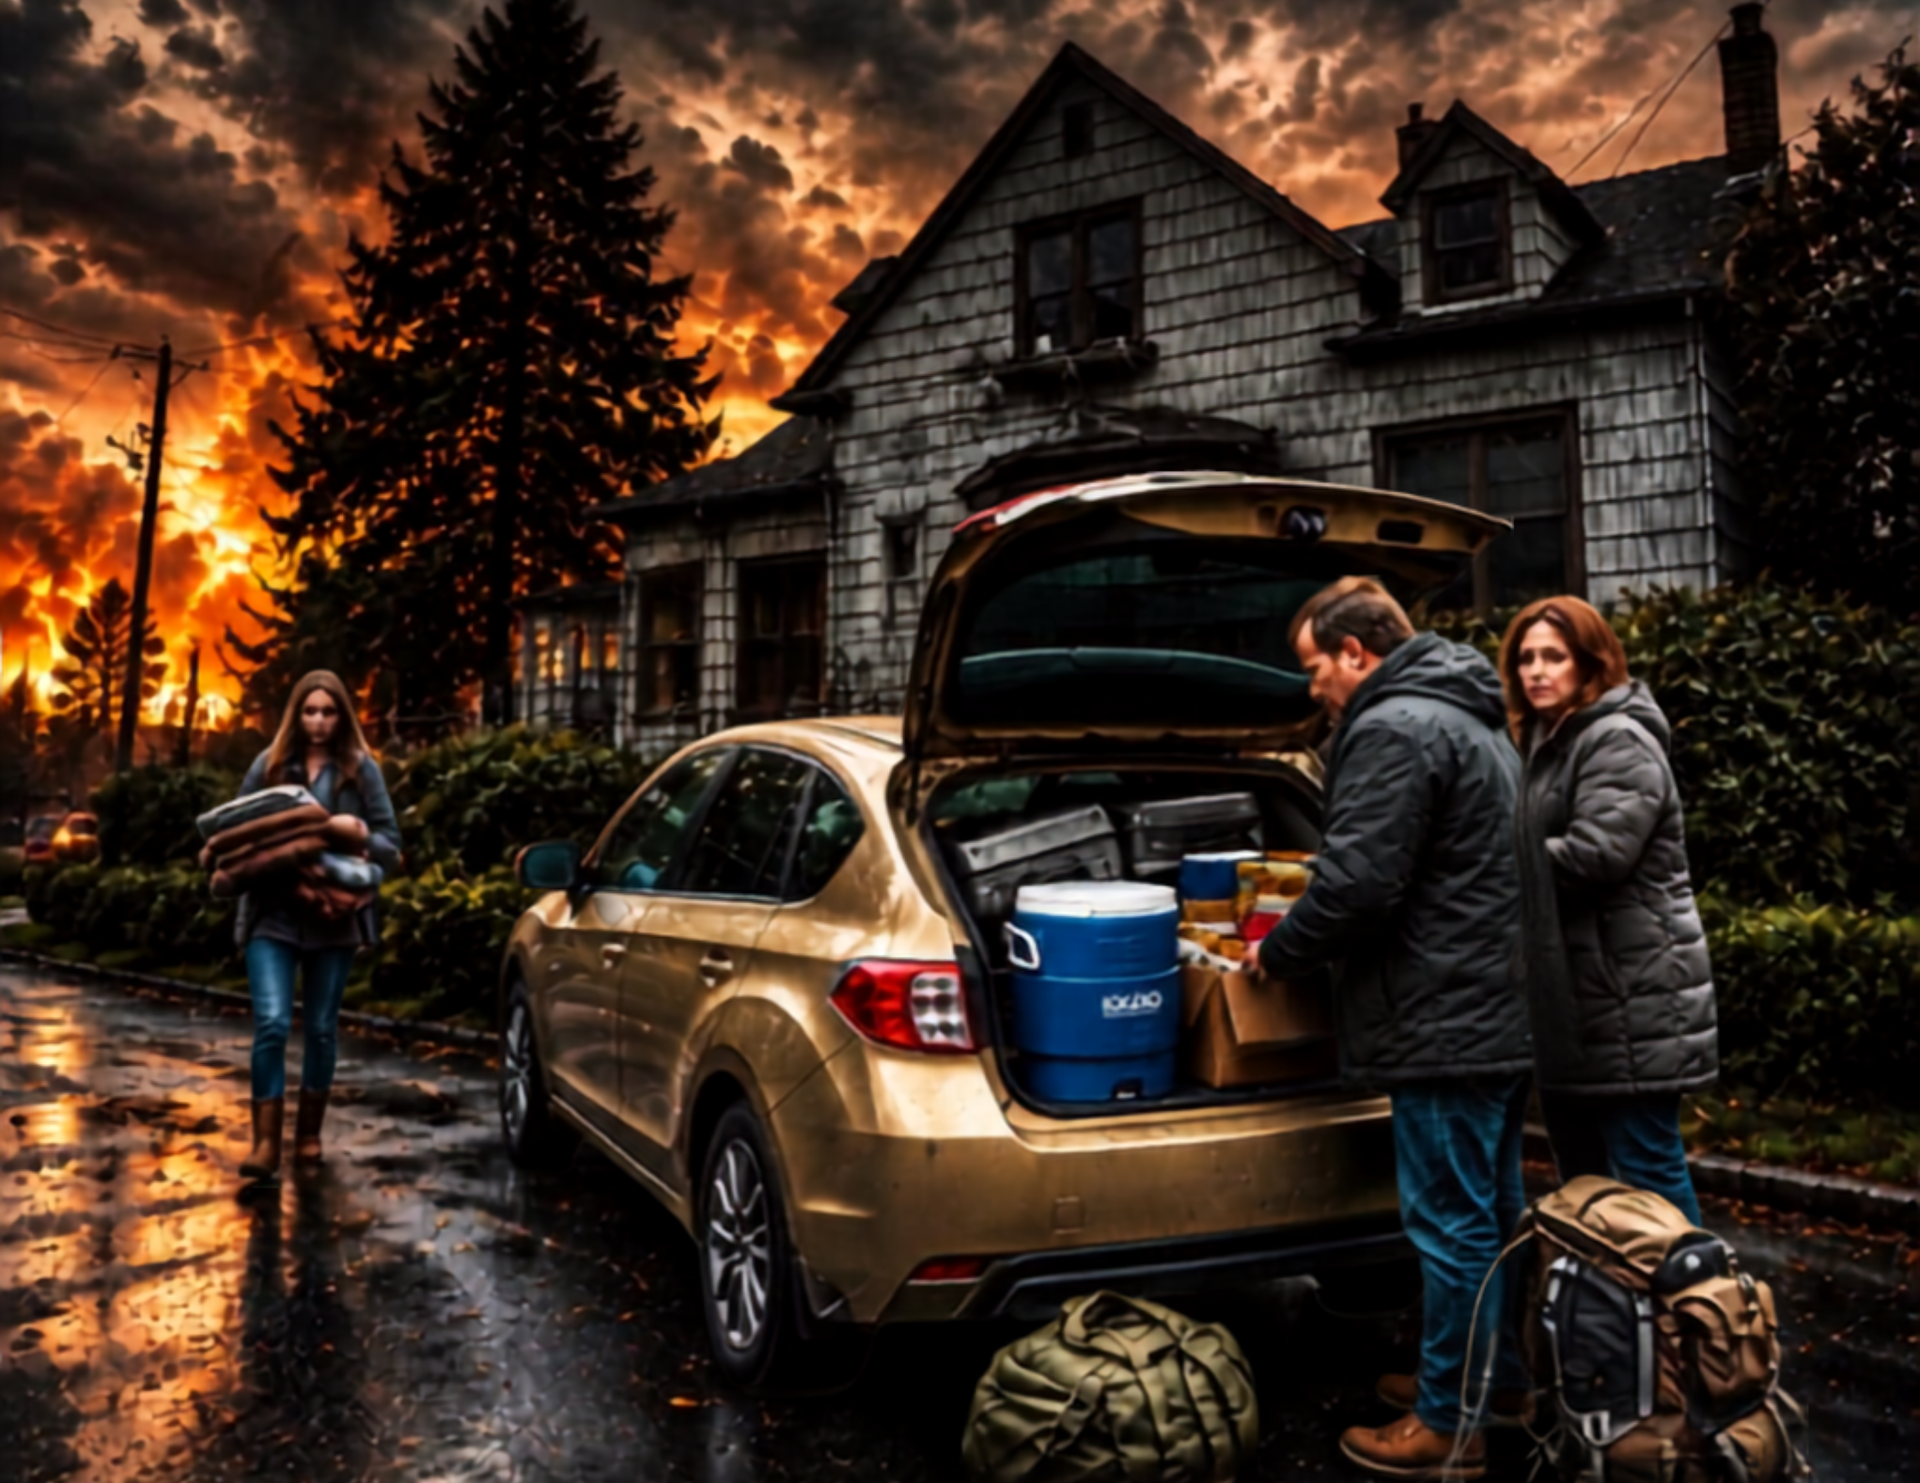
Learn vital survival tips from the Keller family's grid failure experience. Prepare your emergency plan today!
By R.T. Fagan
•
October 14, 2026
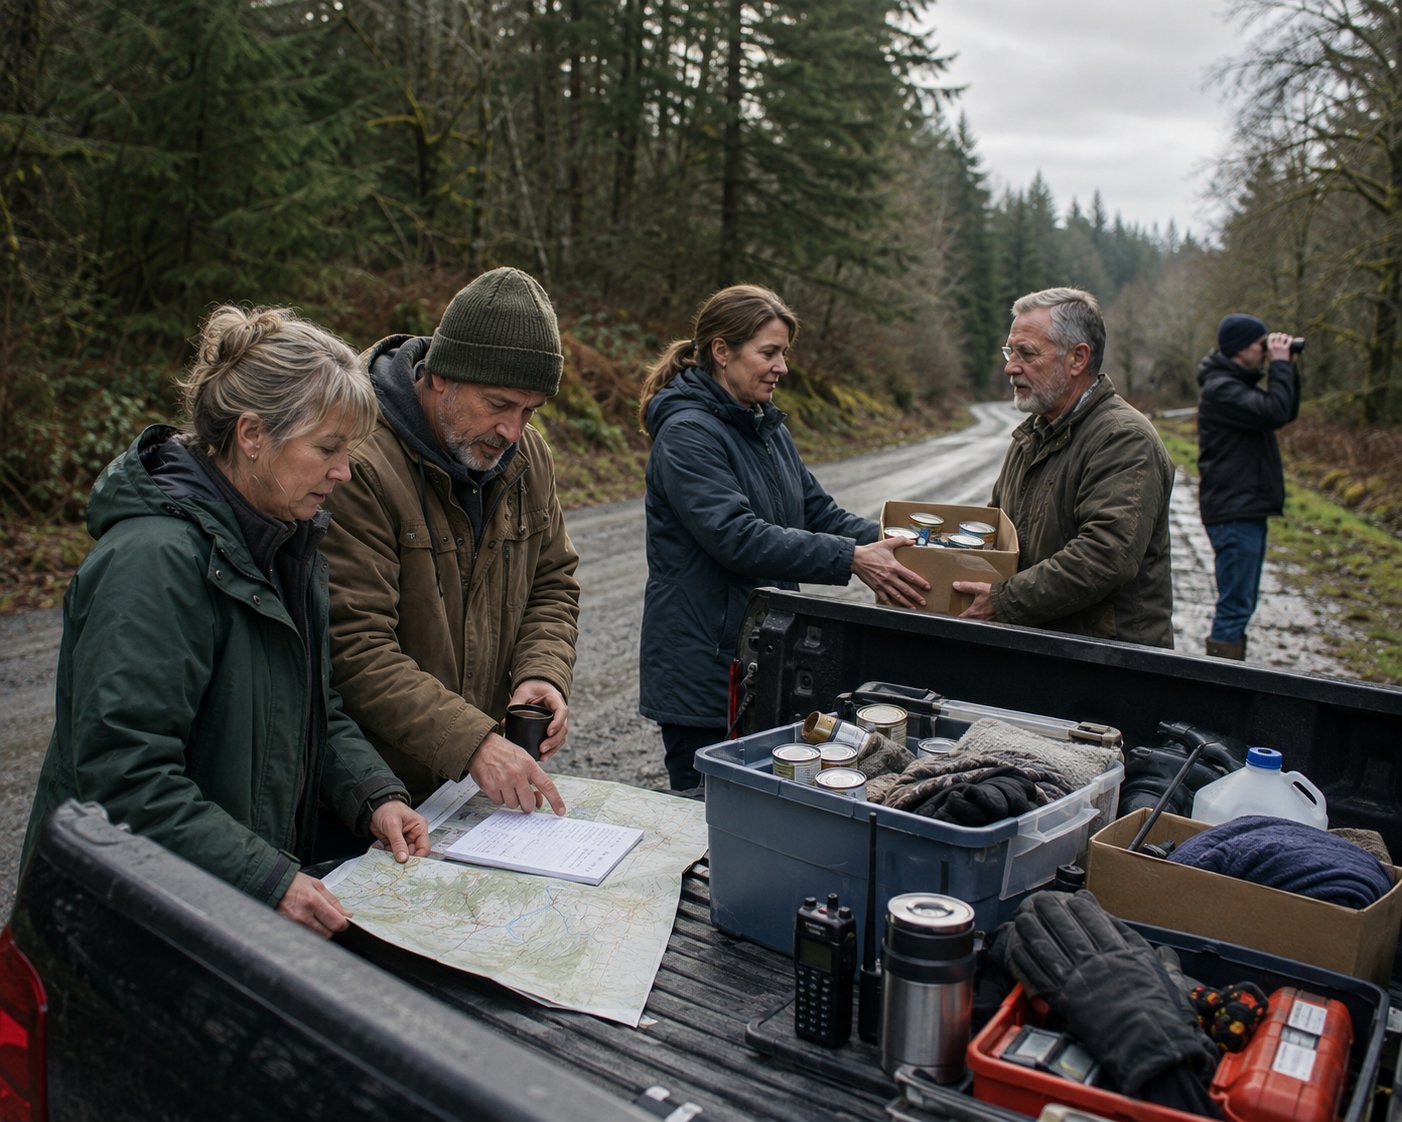
A major review of 47 studies on public responses to power outages found that panic was unlikely and helping behavior would probably outweigh criminal behavior. Losing communications—and not knowing what happened or when power would return—was a major source of stress. But there is an important limit: we have evidence from blackouts and prolonged disasters, not a direct modern example of the entire United States spending a year without electricity. Federal infrastructure advisers explicitly describe catastrophic outages lasting weeks or months across multiple states as events beyond modern experience. The longer we game this out, the more we are making informed projections. For this scenario, I’ll assume: A widespread, sustained outage affecting several states or more. No dependable electricity in the community, including sustained backup generation. Severe disruption to water, sewage, communications, fuel, payments, and deliveries. Some outside assistance may arrive, but it cannot reliably meet everyone’s needs. People initially have no reliable restoration date. That is substantially harsher than an ordinary storm outage. First, three findings that should shape the whole scenario: Cooperation and conflict can happen simultaneously. People can share meals with neighbors while distrusting outsiders. A community can organize effective relief while individual households conceal supplies. Violence is possible immediately; it does not require prolonged hunger. New York’s 1977 blackout produced extensive looting during an outage lasting roughly a day. Its contrast with other blackouts shows why local circumstances matter more than a universal timetable. Infrastructure failure creates the pressure. Electricity supports water treatment, fuel distribution, healthcare, and food supply. Backup systems themselves depend on maintenance and resupply. People’s behavior will depend heavily on which of these services remain available. The following stages are planning projections, not scientifically established deadlines. At 72 hours: Most people are still trying to restore their normal lives. The dominant questions are likely to be: How widespread is this? Where is my family? When is it coming back? Likely behavior: Repeated attempts to get information, contact relatives, and find functioning stores. Checking on neighbors, sharing cooking facilities, and helping people with immediate needs. Buying or collecting more supplies wherever possible. Delaying major decisions because restoration still seems imminent. Uneven recognition of danger: one household treats it as an inconvenience while another already faces a medical or water emergency. Research on emergency survivors supports the idea that experiencing a common threat can create a shared identity and encourage mutual help, including between strangers. The likely neighborhood tension: A prepared household starts conserving immediately. Another considers that excessive and expects everything to be working tomorrow. Some people will make consequential mistakes through optimism or lack of information. Others will act competently without having considered themselves “preppers.” There is no reason to expect everyone to recognize the seriousness at the same time. At one week: The emergency begins reorganizing daily life. The dominant question becomes: How do we keep doing this? Obtaining water, preparing food, managing waste, caring for dependents, and finding information now take substantial time. Likely behavior: Households consolidate into places with usable heat, water, or cooking facilities. Informal organizers emerge: the person who checks every house, coordinates transport, or knows where supplies are available. Family networks activate. Some people leave for relatives; others receive relatives. Rumors gain influence because reliable information is scarce. Disagreements develop over contributions, access, and whether to stay. These kinds of adaptations were observed after Hurricane María. A community case study documented face-to-face coordination, emerging neighborhood leaders, and collective arrangements for supplies and assistance when normal communications failed. That community also received outside support, so it is an imperfect comparison to our harsher scenario. The likely neighborhood tension: “We have been supplying the cooking fuel all week. What happens when ours runs out?” Generosity can continue. However, continuing cooperation increasingly requires agreements about work and resources. A week without safe water could already be disastrous. A week with dependable water, sanitation, food, and shelter could remain orderly. At one month: Temporary arrangements need rules that people accept. The dominant question becomes: Who makes decisions, and are those decisions fair? Under our assumptions, this is already a humanitarian emergency. People cannot indefinitely improvise around failed water, food, and medical systems. Likely behavior: More explicit rationing and work schedules. Arguments about unequal effort and unequal need. Greater concern about newcomers and additional dependents. Private reserves, concealed consumption, and accusations of favoritism. Departures from communities that cannot sustain their populations. Exhaustion among the people who have been organizing everything. Consider a plausible dispute: one household contributed most of the food; another supplies most of the labor; a third includes someone who needs extensive care. All three may have reasonable but incompatible ideas about fairness. That is a credible source of conflict without anybody suddenly becoming evil. Medical disruption also changes behavior through grief, fear, and caregiving demands. In a household survey after Hurricane María, respondents attributed approximately one-third of reported deaths to delayed or interrupted medical care. Those were consequences of the broader disaster, not electricity loss alone. At this stage, I would expect diverging communities : some maintain cooperation, some fragment, and some become dependent on whoever controls access to essential resources. At three months: The central issue becomes whether people can see a viable future. The dominant question becomes: Can we sustain this place—or must we leave? Without adequate supplies or assistance, a community cannot reach this point merely by becoming accustomed to hardship. It needs functioning ways to obtain water, calories, shelter, sanitation, and care. Where those exist, plausible behavior includes: Established routines and more specialized work. Shared childcare, meals, repairs, and support for vulnerable residents. Exchange between households and neighboring communities. Leadership based increasingly on demonstrated usefulness and trust. Continued disagreement about outsiders, obligations, and scarce supplies. Where essentials remain inadequate, expect stronger pressure toward displacement, family separation, exploitative exchanges, and conflict over access. Migration deserves at least as much attention as violence. Census data documented substantially increased movement from Puerto Rico to the mainland in the year after María. That does not isolate electricity’s effect, but it shows that people respond to prolonged disruption by relocating—not simply remaining in place and becoming more aggressive. The likely neighborhood tension: A household wants to leave and take the tools, food, or equipment that everyone has come to depend on. That dispute concerns ownership, survival, and freedom to leave—all at once. At six months: Exhaustion and unequal recovery can reshape relationships. The dominant question becomes: Why are we still living this way, and who is responsible? A plausible functioning community now has considerable practical experience. Its members may also be carrying bereavement, physical wear, lost income, interrupted education, and months of uncertainty. Possible behavior: Strong loyalty within dependable working groups. Resentment toward leaders, perceived noncontributors, or better supplied communities. Withdrawal by people who previously volunteered constantly. Attempts to reconnect with wider trade, relief, or government networks. Greater acceptance of restrictions if people believe they are necessary—and resistance if they appear arbitrary. Adaptation does not guarantee emotional recovery. A longitudinal Katrina study found that several mental health outcomes worsened between assessments conducted 5–8 months after the hurricane and approximately one year later. That is evidence about prolonged disaster stress, not a forecast that everyone deteriorates psychologically. Season now matters enormously. Six months beginning in January presents different problems from six months beginning in July. A garden produces food according to growing conditions, labor, and time—not according to when the pantry empties. The likely neighborhood tension: The dependable organizer finally says, “Someone else has to take this over.” A community that depends on a few exhausted individuals has a serious weakness even if its supplies remain adequate. At one year: We are examining a changed society, with very limited predictive confidence. The dominant question becomes: What arrangements can support life indefinitely? A year without dependable electricity across a large modern population would require profound changes in settlement, production, transport, healthcare, and governance. Research cannot supply a defensible universal death percentage or a single expected social outcome. Three broad paths are plausible: Condition: Essentials are available; decisions are accepted as fair Plausible social development: Durable cooperation, shared services, local exchange, and continuing links to wider institutions Condition: Essentials exist, but access is controlled by an unaccountable group Plausible social development: Dependency, favoritism, coercion, and resistance Condition: Essentials remain insufficient Plausible social development: Continued displacement, preventable deaths, household fragmentation, and possible abandonment Different places could follow different paths simultaneously. Daily life could include work, teaching children, celebrations, friendship, and community obligations alongside severe deprivation. People retain a much wider range of behavior than fear and aggression. Also, the people remaining after a year would not be a representative sample of the original population. Others would have left, been evacuated, or died. An apparently stable settlement might partly reflect that population change. What I would watch more closely than the calendar To judge whether a particular neighborhood is becoming more cooperative or more dangerous, I would track: Essential needs: Are people actually getting water, sufficient food, shelter, sanitation, and necessary care? Credible information: Do they understand the situation, or live on repeated rumors and failed promises? Fairness: Can people see how resources and workloads are allocated? Trust: Are agreements being honored, including by leaders? Options: Can people obtain assistance, exchange goods, or leave for somewhere demonstrably safer? Capacity: Are caregivers, organizers, and skilled workers still able to function? For a rural neighborhood, I would game out the first serious disputes around water access, additional relatives arriving, shared fuel, unequal workloads, and authority over privately owned supplies . Those are plausible pressure points, not predictions about your neighbors. For The Ridge, the strongest research-supported portrayal would allow neighbors to become more capable and more strained over time. A person can remain generous while setting limits. Another can contribute faithfully while resenting leadership. A third can become a threat early. The calendar increases exposure to hardship. What happens to behavior depends on whether people can meet their needs and still trust the arrangements holding them together.
By R.T. Fagan
•
October 12, 2026
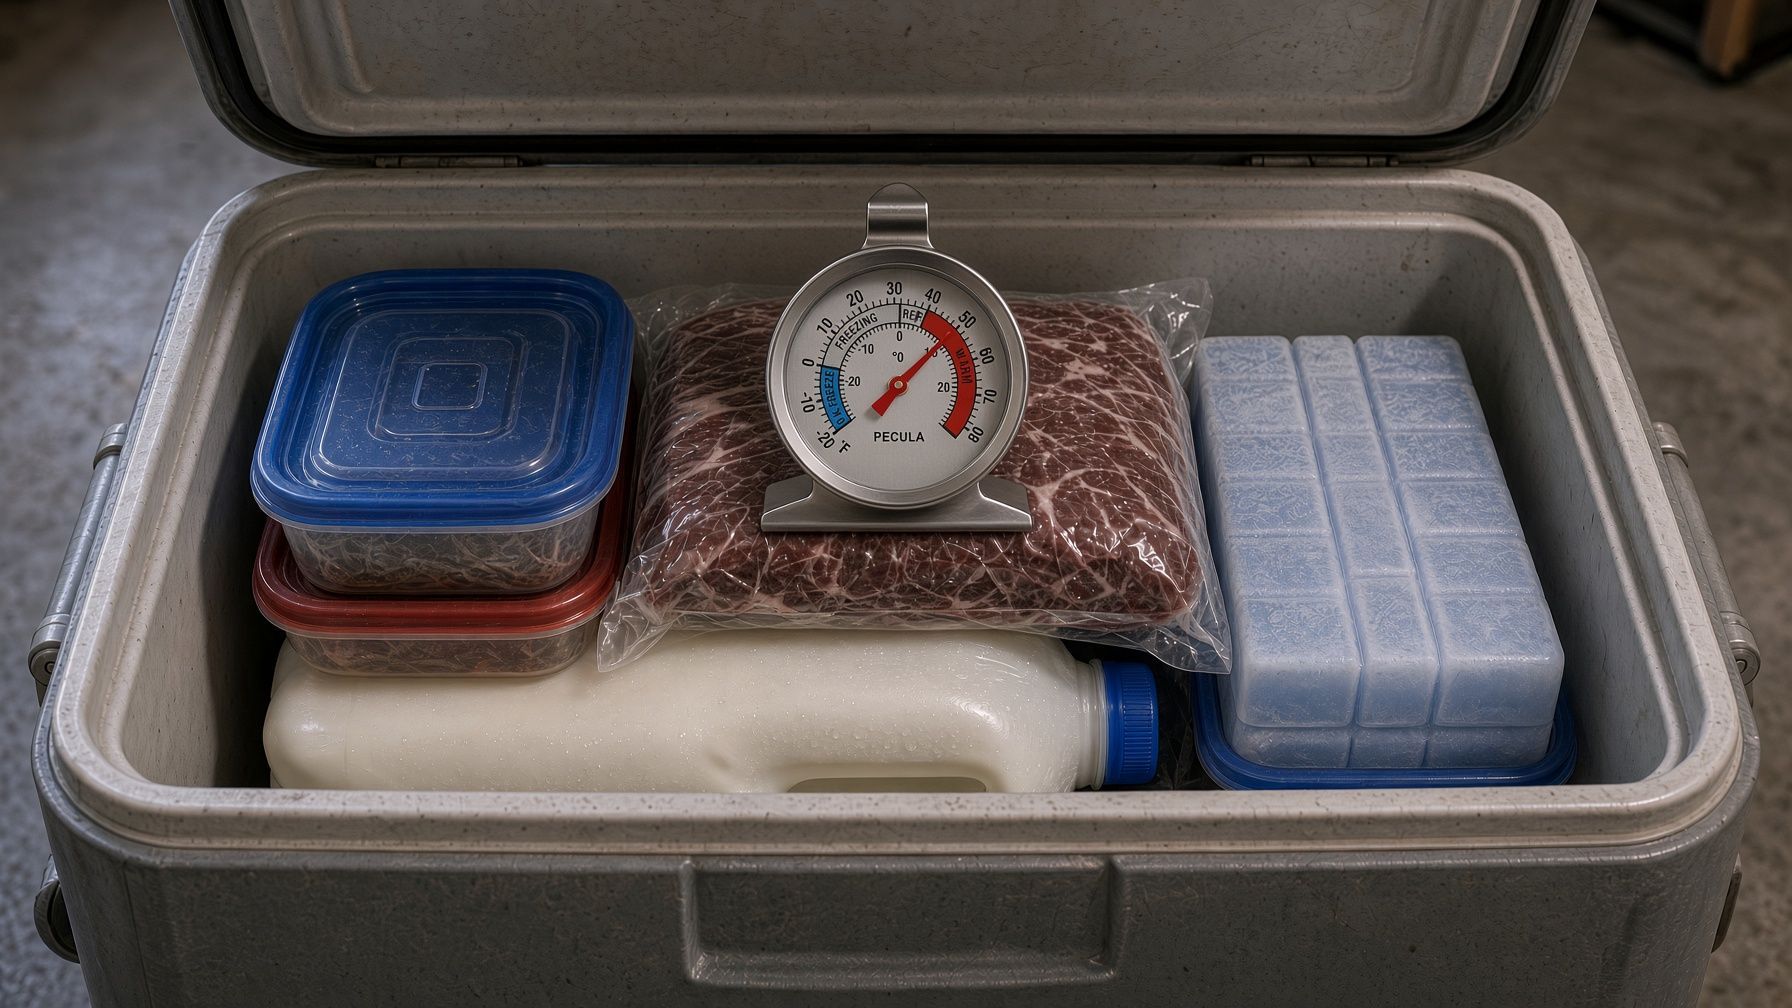
Federal food-safety guidance is consistent on this.
By R.T. Fagan
•
October 5, 2026
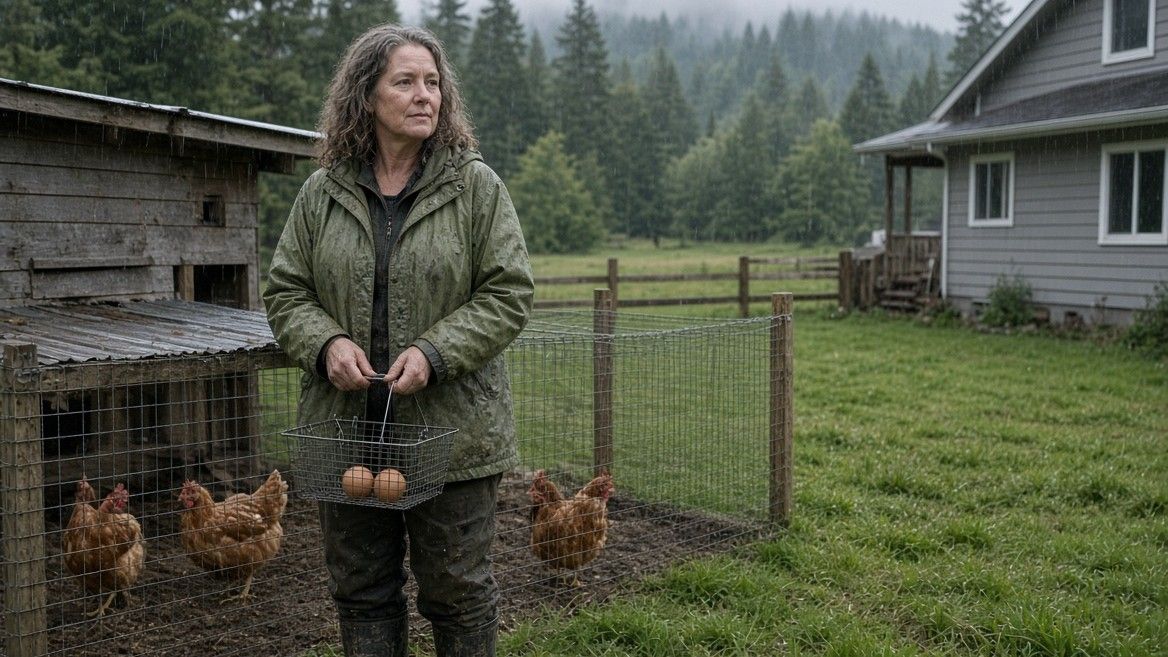
Whether a small flock or a rabbit hutch is a food system or just a new daily job: city code, HOA, feed math, and the household conversation most articles skip. R.T. Fagan

By R.T. Fagan
•
October 5, 2026
Why Plant Skills Matter, and How to Start Now
By R.T. Fagan
•
September 30, 2026
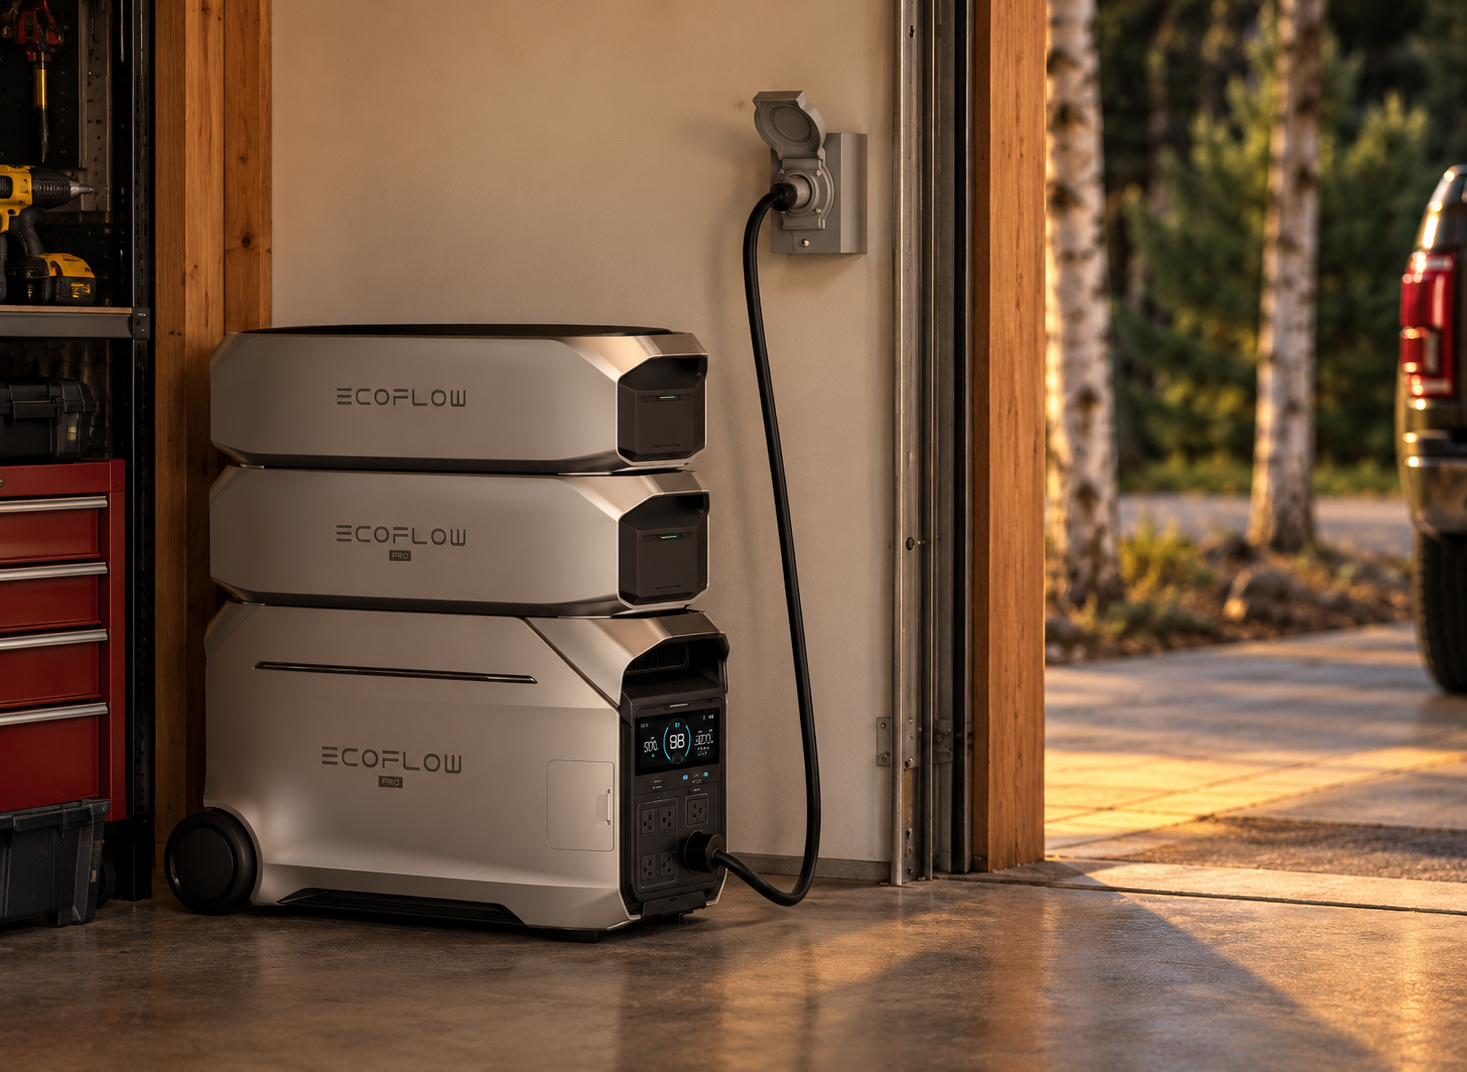
Have a licensed electrician design and install anything that ties into your breaker panel, generator inlet, interlock, transfer switch, hybrid inverter, or battery system. Pull the required permits and get the work inspected. Improvised panel wiring and backfeed can start fires and can kill utility workers. This article is planning guidance, not a wiring manual. When the grid goes down, the goal is not to keep the whole house comfortable. The goal is cold food, water, communications, and one room you can live in. Heat and cool that room. Leave the rest of the house dark. The most fuel-efficient way to do that is not to run the house on a generator. It is to run critical loads from batteries, let solar recharge those batteries whenever the sun is out, and use the generator only to recharge the bank when it gets low. The setup A practical layout looks like this: A listed 50 amp, 240 volt inlet wired to a transfer path on the breaker panel (or to a hybrid inverter with a generator input). You can connect either the battery inverter or the generator—never both at once unless the equipment is designed for that. The panel, or better a critical-loads subpanel, draws only what you leave on. Solar charges the batteries first. When the batteries get low, the generator recharges the batteries. Then it shuts off. The house lives on the battery. The generator is a battery charger, not a 24-hour house engine. A generator loafing all day at a light load wastes fuel, wears poorly, and still leaves you noisy and exposed. A few hours at a healthy load, then silence, is the efficient pattern. There are many equipment options. Selection depends on budget, climate, and which circuits you are willing to turn off. The operating order does not change: solar first, battery next, generator last. What gets power Do not back up the whole house. Keep on (Tier 1) Refrigerator and freezer Communications: modem, router, phones Medical equipment if you have it A few LED lights in the live room and a path to it Water in short cycles (well or booster), or stored water if the pump is too large The inverter and battery system itself Only if the battery is in good shape (Tier 2) Laptop A small fan Short cooking on a microwave or induction burner Sump pump if flooding is a real risk Leave off (Tier 3) Central heat and air Electric range and oven as a habit Dryer, dishwasher, and electric water heater Whole-house lighting Shop tools and EV charging The extra fridge in the garage A modern refrigerator is often around 1 kWh per day. A handful of LED bulbs and a router add a fraction of that. Central HVAC can use more in one afternoon than the critical loads use in a full day. That is how small systems die overnight. Write the “leave on” list on the panel door. Flip everything else off and leave it off. Live in one room Pick the room that is easiest to hold. In winter, an interior room with fewer exterior walls. In summer, a shaded room you can cross-ventilate. Keep it close to the kitchen so the refrigerator is not a separate trip. Close doors. Hang a blanket over the opening if you need to. You are creating a small livable zone, not conditioning 1,800 square feet. Winter Heat that room only. Use a wood stove if you have one, or an indoor-rated propane or kerosene heater with working carbon monoxide alarms. An electric space heater is a last resort: 500 watts for eight hours is 4 kWh, more than the fridge, lights, and internet combined. If you use electric heat at all, use a small oil-filled radiator only while you are awake and the battery is well above empty. Sleep in layers. Protect pipes by dripping a faucet or draining lines rather than running heat tape on a dying bank. Summer Same closed-off room. Use a box fan first. If you must use air conditioning, use a small window unit in that room only, and only during the hottest hours. Cook outside. Keep the refrigerator door shut. A budget you can actually support For one room, a fridge, communications, and occasional pumping, plan on 3 to 8 kWh per day . Stay closer to 3 to 5 kWh if you skip mechanical cooling. LoadTypical daily energy Refrigerator0.8–1.5 kWh Lights, phones, router0.3–0.6 kWh Laptop or radio0.2–0.5 kWh Well or sump, short cycles0.3–1.5 kWh Room fan or brief window AC0.5–3 kWh Working total: 3–8 kWh/day From that number: Battery: about 10–15 kWh of LiFePO4 covers roughly two days of critical loads. Lithium is worth it here: you can use most of the nameplate capacity, it charges faster from a generator, and less energy is lost as heat than with lead-acid. Solar: 2–6 kW will refill a 3–8 kWh day on decent sun. Size toward your worst season, not July. Generator: 3–7 kW is enough if it is charging batteries for two to four hours, not running the HVAC. A 50 amp, 240 volt inlet is then a convenient hookup, not a promise that the whole house stays on. Do not try to cover a two-week ice storm with batteries alone. Cover ordinary outages with solar and storage. Cover the long, dark tail with fuel and load discipline.H the power should be divided Best: a critical-loads subpanel that contains only Tier 1 circuits, and maybe one Tier 2 circuit. The inverter or inlet feeds that subpanel. The main panel stays off unless you deliberately turn something on. Acceptable: the same 50 amp inlet and a panel interlock, with you turning off HVAC, water heater, range, dryer, and spare lighting by hand every outage. Do not energize an entire 200 amp panel from a modest battery and hope nobody turns on the air conditioner. Match the inlet, cord, and generator connector. A 50 amp inlet is not 12,000 watts if the generator cannot make 12,000 watts. The engine is the limit. Neutral bonding and GFCI behavior have to be correct for your specific generator and inverter. That is one of the reasons this is licensed work. How to run an outage Isolate from the utility with the interlock, transfer switch, or hybrid island mode. Shed load. HVAC off. Water heater off. Extra lights off. Close the house down to the live room. Confirm the refrigerator is on a backed-up circuit. Watch battery state of charge. Start the generator around 25–30%, charge hard, shut it down. Do not trickle-charge all night at a light load. Use every clear hour of sun. Save laundry and heavier cooking for those days. If weather stays bad and the bank is falling, drop Tier 2. Refrigerator and communications last. Test the path before storm season: transfer, start the well or fridge compressor, confirm nothing is backfeeding the meter. Equipment follows the plan, not the other way around A staged system can be an inlet, interlock or manual transfer switch, a modest inverter, 10–15 kWh of lithium, a small solar array, and a dual-fuel portable used only to recharge. A more integrated system is a hybrid inverter with a generator input, the same critical-loads discipline, and auto-start if you want less babysitting. Brands and exact kilowatt-hours change with budget and climate. What does not change is this: the panel only draws what you leave on, solar fills the batteries when it can, and the generator is for recharging—not for living like the grid is still up. The point On land, grid-down power is a rationing problem. You need cold food, some form of water, a way to call out, and one room you can sleep in without turning the outage into a medical problem. Whole-house heat and cooling is a grid luxury. In a bad week it is the fastest way to empty the bank and burn fuel for no extra safety. Plan the loads first. Size the battery and solar to those loads. Keep the generator in reserve as a charger. And have a licensed electrician permit and install the connection to your panel.
By R.T. Fagan
•
September 28, 2026
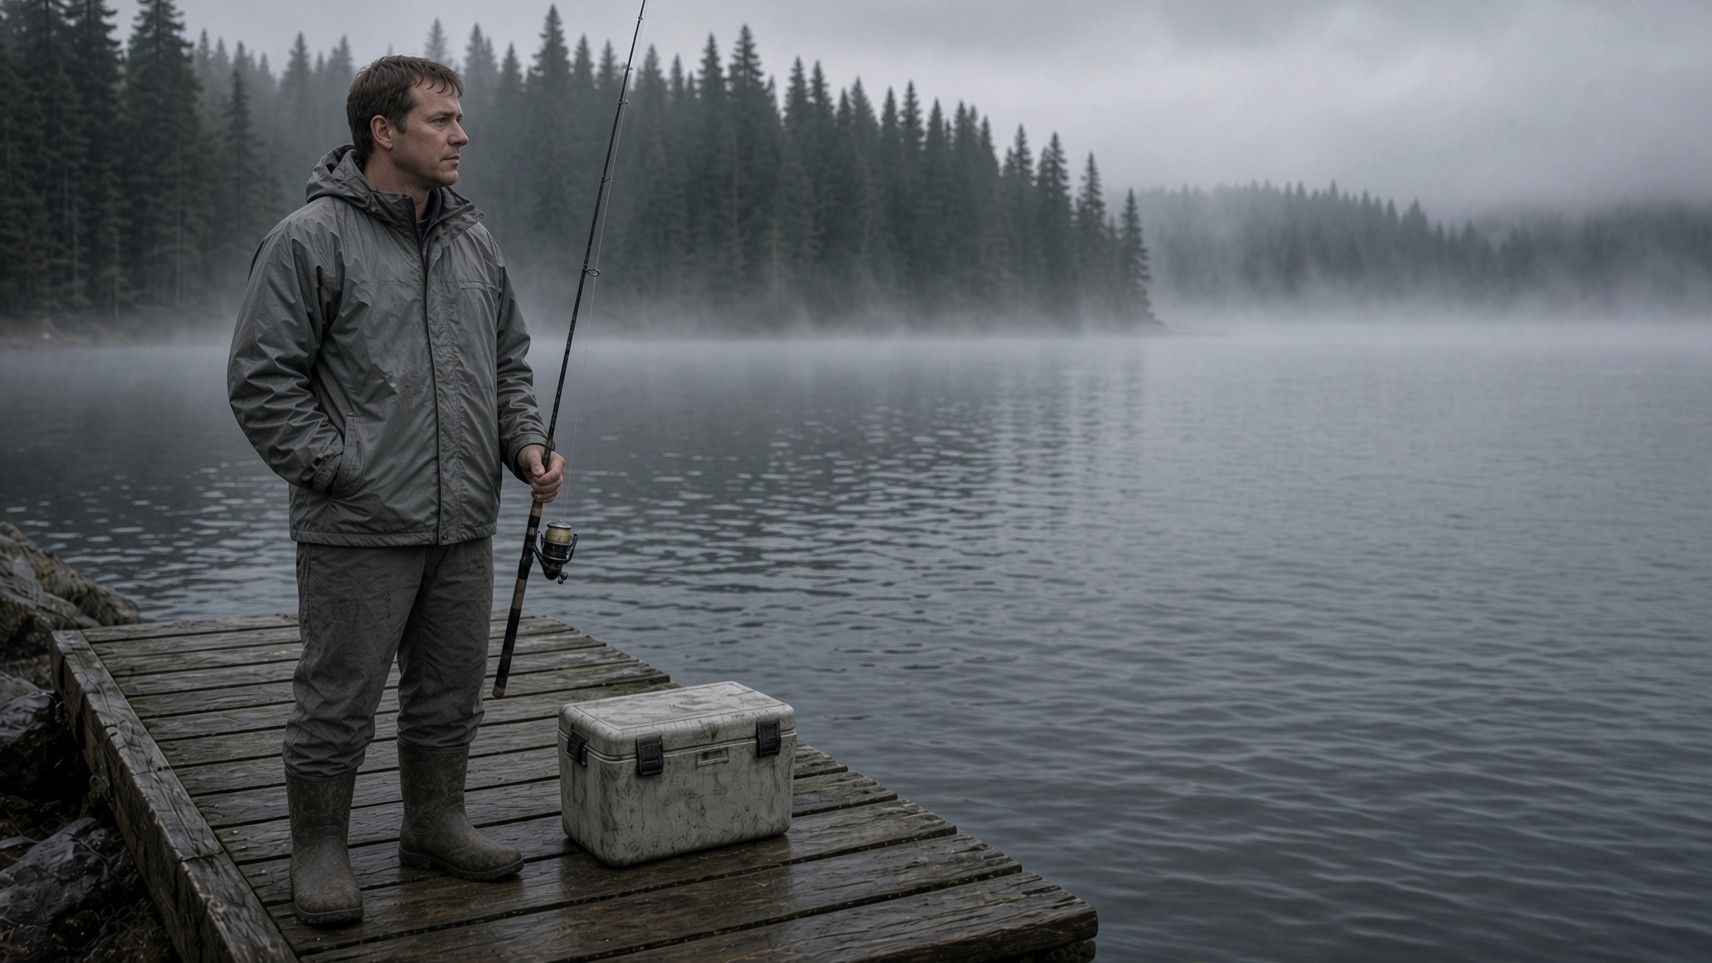
Turn legal access to water into food you can eat tonight or keep without pretending the freezer always runs --- for piers, creeks, and the coast. R.T. Fagan
By R.T. Fagan
•
September 25, 2026
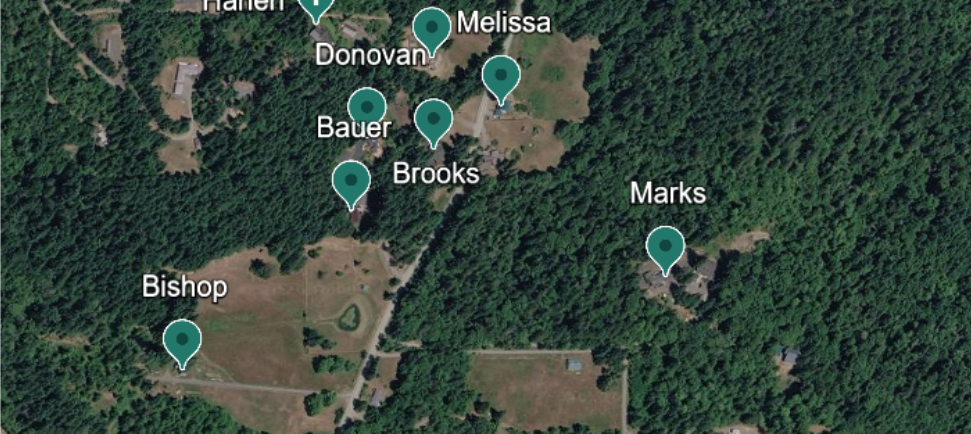
A useful outage map shows more than the road home. It shows the ground you actually depend on.
By R.T. Fagan
•
September 21, 2026
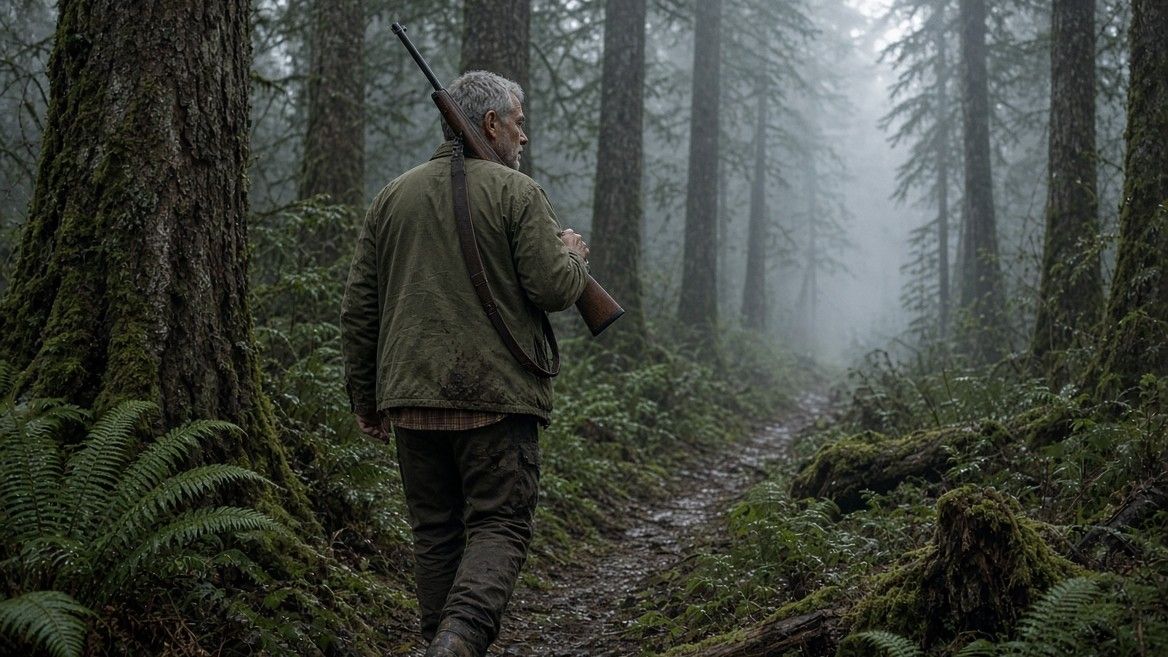
When hunting or trapping is a real food path --- and when it is just gear in a closet. Education, access, ethics, and a one-week test that does not start with a trigger. R.T. Fagan
By R.T. Fagan
•
October 24, 2026
Learn the safest ways to preserve venison without grid power, including pressure canning with fuel, jerky, smoking, curing, ice and realistic emergency priorities.
By R.T. Fagan
•
October 19, 2026
Learn vital survival tips from the Keller family's grid failure experience. Prepare your emergency plan today!
By R.T. Fagan
•
October 14, 2026
A major review of 47 studies on public responses to power outages found that panic was unlikely and helping behavior would probably outweigh criminal behavior. Losing communications—and not knowing what happened or when power would return—was a major source of stress. But there is an important limit: we have evidence from blackouts and prolonged disasters, not a direct modern example of the entire United States spending a year without electricity. Federal infrastructure advisers explicitly describe catastrophic outages lasting weeks or months across multiple states as events beyond modern experience. The longer we game this out, the more we are making informed projections. For this scenario, I’ll assume: A widespread, sustained outage affecting several states or more. No dependable electricity in the community, including sustained backup generation. Severe disruption to water, sewage, communications, fuel, payments, and deliveries. Some outside assistance may arrive, but it cannot reliably meet everyone’s needs. People initially have no reliable restoration date. That is substantially harsher than an ordinary storm outage. First, three findings that should shape the whole scenario: Cooperation and conflict can happen simultaneously. People can share meals with neighbors while distrusting outsiders. A community can organize effective relief while individual households conceal supplies. Violence is possible immediately; it does not require prolonged hunger. New York’s 1977 blackout produced extensive looting during an outage lasting roughly a day. Its contrast with other blackouts shows why local circumstances matter more than a universal timetable. Infrastructure failure creates the pressure. Electricity supports water treatment, fuel distribution, healthcare, and food supply. Backup systems themselves depend on maintenance and resupply. People’s behavior will depend heavily on which of these services remain available. The following stages are planning projections, not scientifically established deadlines. At 72 hours: Most people are still trying to restore their normal lives. The dominant questions are likely to be: How widespread is this? Where is my family? When is it coming back? Likely behavior: Repeated attempts to get information, contact relatives, and find functioning stores. Checking on neighbors, sharing cooking facilities, and helping people with immediate needs. Buying or collecting more supplies wherever possible. Delaying major decisions because restoration still seems imminent. Uneven recognition of danger: one household treats it as an inconvenience while another already faces a medical or water emergency. Research on emergency survivors supports the idea that experiencing a common threat can create a shared identity and encourage mutual help, including between strangers. The likely neighborhood tension: A prepared household starts conserving immediately. Another considers that excessive and expects everything to be working tomorrow. Some people will make consequential mistakes through optimism or lack of information. Others will act competently without having considered themselves “preppers.” There is no reason to expect everyone to recognize the seriousness at the same time. At one week: The emergency begins reorganizing daily life. The dominant question becomes: How do we keep doing this? Obtaining water, preparing food, managing waste, caring for dependents, and finding information now take substantial time. Likely behavior: Households consolidate into places with usable heat, water, or cooking facilities. Informal organizers emerge: the person who checks every house, coordinates transport, or knows where supplies are available. Family networks activate. Some people leave for relatives; others receive relatives. Rumors gain influence because reliable information is scarce. Disagreements develop over contributions, access, and whether to stay. These kinds of adaptations were observed after Hurricane María. A community case study documented face-to-face coordination, emerging neighborhood leaders, and collective arrangements for supplies and assistance when normal communications failed. That community also received outside support, so it is an imperfect comparison to our harsher scenario. The likely neighborhood tension: “We have been supplying the cooking fuel all week. What happens when ours runs out?” Generosity can continue. However, continuing cooperation increasingly requires agreements about work and resources. A week without safe water could already be disastrous. A week with dependable water, sanitation, food, and shelter could remain orderly. At one month: Temporary arrangements need rules that people accept. The dominant question becomes: Who makes decisions, and are those decisions fair? Under our assumptions, this is already a humanitarian emergency. People cannot indefinitely improvise around failed water, food, and medical systems. Likely behavior: More explicit rationing and work schedules. Arguments about unequal effort and unequal need. Greater concern about newcomers and additional dependents. Private reserves, concealed consumption, and accusations of favoritism. Departures from communities that cannot sustain their populations. Exhaustion among the people who have been organizing everything. Consider a plausible dispute: one household contributed most of the food; another supplies most of the labor; a third includes someone who needs extensive care. All three may have reasonable but incompatible ideas about fairness. That is a credible source of conflict without anybody suddenly becoming evil. Medical disruption also changes behavior through grief, fear, and caregiving demands. In a household survey after Hurricane María, respondents attributed approximately one-third of reported deaths to delayed or interrupted medical care. Those were consequences of the broader disaster, not electricity loss alone. At this stage, I would expect diverging communities : some maintain cooperation, some fragment, and some become dependent on whoever controls access to essential resources. At three months: The central issue becomes whether people can see a viable future. The dominant question becomes: Can we sustain this place—or must we leave? Without adequate supplies or assistance, a community cannot reach this point merely by becoming accustomed to hardship. It needs functioning ways to obtain water, calories, shelter, sanitation, and care. Where those exist, plausible behavior includes: Established routines and more specialized work. Shared childcare, meals, repairs, and support for vulnerable residents. Exchange between households and neighboring communities. Leadership based increasingly on demonstrated usefulness and trust. Continued disagreement about outsiders, obligations, and scarce supplies. Where essentials remain inadequate, expect stronger pressure toward displacement, family separation, exploitative exchanges, and conflict over access. Migration deserves at least as much attention as violence. Census data documented substantially increased movement from Puerto Rico to the mainland in the year after María. That does not isolate electricity’s effect, but it shows that people respond to prolonged disruption by relocating—not simply remaining in place and becoming more aggressive. The likely neighborhood tension: A household wants to leave and take the tools, food, or equipment that everyone has come to depend on. That dispute concerns ownership, survival, and freedom to leave—all at once. At six months: Exhaustion and unequal recovery can reshape relationships. The dominant question becomes: Why are we still living this way, and who is responsible? A plausible functioning community now has considerable practical experience. Its members may also be carrying bereavement, physical wear, lost income, interrupted education, and months of uncertainty. Possible behavior: Strong loyalty within dependable working groups. Resentment toward leaders, perceived noncontributors, or better supplied communities. Withdrawal by people who previously volunteered constantly. Attempts to reconnect with wider trade, relief, or government networks. Greater acceptance of restrictions if people believe they are necessary—and resistance if they appear arbitrary. Adaptation does not guarantee emotional recovery. A longitudinal Katrina study found that several mental health outcomes worsened between assessments conducted 5–8 months after the hurricane and approximately one year later. That is evidence about prolonged disaster stress, not a forecast that everyone deteriorates psychologically. Season now matters enormously. Six months beginning in January presents different problems from six months beginning in July. A garden produces food according to growing conditions, labor, and time—not according to when the pantry empties. The likely neighborhood tension: The dependable organizer finally says, “Someone else has to take this over.” A community that depends on a few exhausted individuals has a serious weakness even if its supplies remain adequate. At one year: We are examining a changed society, with very limited predictive confidence. The dominant question becomes: What arrangements can support life indefinitely? A year without dependable electricity across a large modern population would require profound changes in settlement, production, transport, healthcare, and governance. Research cannot supply a defensible universal death percentage or a single expected social outcome. Three broad paths are plausible: Condition: Essentials are available; decisions are accepted as fair Plausible social development: Durable cooperation, shared services, local exchange, and continuing links to wider institutions Condition: Essentials exist, but access is controlled by an unaccountable group Plausible social development: Dependency, favoritism, coercion, and resistance Condition: Essentials remain insufficient Plausible social development: Continued displacement, preventable deaths, household fragmentation, and possible abandonment Different places could follow different paths simultaneously. Daily life could include work, teaching children, celebrations, friendship, and community obligations alongside severe deprivation. People retain a much wider range of behavior than fear and aggression. Also, the people remaining after a year would not be a representative sample of the original population. Others would have left, been evacuated, or died. An apparently stable settlement might partly reflect that population change. What I would watch more closely than the calendar To judge whether a particular neighborhood is becoming more cooperative or more dangerous, I would track: Essential needs: Are people actually getting water, sufficient food, shelter, sanitation, and necessary care? Credible information: Do they understand the situation, or live on repeated rumors and failed promises? Fairness: Can people see how resources and workloads are allocated? Trust: Are agreements being honored, including by leaders? Options: Can people obtain assistance, exchange goods, or leave for somewhere demonstrably safer? Capacity: Are caregivers, organizers, and skilled workers still able to function? For a rural neighborhood, I would game out the first serious disputes around water access, additional relatives arriving, shared fuel, unequal workloads, and authority over privately owned supplies . Those are plausible pressure points, not predictions about your neighbors. For The Ridge, the strongest research-supported portrayal would allow neighbors to become more capable and more strained over time. A person can remain generous while setting limits. Another can contribute faithfully while resenting leadership. A third can become a threat early. The calendar increases exposure to hardship. What happens to behavior depends on whether people can meet their needs and still trust the arrangements holding them together.
By R.T. Fagan
•
October 12, 2026
Federal food-safety guidance is consistent on this.
By R.T. Fagan
•
October 5, 2026
Whether a small flock or a rabbit hutch is a food system or just a new daily job: city code, HOA, feed math, and the household conversation most articles skip. R.T. Fagan
By R.T. Fagan
•
October 5, 2026
Why Plant Skills Matter, and How to Start Now
By R.T. Fagan
•
September 30, 2026
Have a licensed electrician design and install anything that ties into your breaker panel, generator inlet, interlock, transfer switch, hybrid inverter, or battery system. Pull the required permits and get the work inspected. Improvised panel wiring and backfeed can start fires and can kill utility workers. This article is planning guidance, not a wiring manual. When the grid goes down, the goal is not to keep the whole house comfortable. The goal is cold food, water, communications, and one room you can live in. Heat and cool that room. Leave the rest of the house dark. The most fuel-efficient way to do that is not to run the house on a generator. It is to run critical loads from batteries, let solar recharge those batteries whenever the sun is out, and use the generator only to recharge the bank when it gets low. The setup A practical layout looks like this: A listed 50 amp, 240 volt inlet wired to a transfer path on the breaker panel (or to a hybrid inverter with a generator input). You can connect either the battery inverter or the generator—never both at once unless the equipment is designed for that. The panel, or better a critical-loads subpanel, draws only what you leave on. Solar charges the batteries first. When the batteries get low, the generator recharges the batteries. Then it shuts off. The house lives on the battery. The generator is a battery charger, not a 24-hour house engine. A generator loafing all day at a light load wastes fuel, wears poorly, and still leaves you noisy and exposed. A few hours at a healthy load, then silence, is the efficient pattern. There are many equipment options. Selection depends on budget, climate, and which circuits you are willing to turn off. The operating order does not change: solar first, battery next, generator last. What gets power Do not back up the whole house. Keep on (Tier 1) Refrigerator and freezer Communications: modem, router, phones Medical equipment if you have it A few LED lights in the live room and a path to it Water in short cycles (well or booster), or stored water if the pump is too large The inverter and battery system itself Only if the battery is in good shape (Tier 2) Laptop A small fan Short cooking on a microwave or induction burner Sump pump if flooding is a real risk Leave off (Tier 3) Central heat and air Electric range and oven as a habit Dryer, dishwasher, and electric water heater Whole-house lighting Shop tools and EV charging The extra fridge in the garage A modern refrigerator is often around 1 kWh per day. A handful of LED bulbs and a router add a fraction of that. Central HVAC can use more in one afternoon than the critical loads use in a full day. That is how small systems die overnight. Write the “leave on” list on the panel door. Flip everything else off and leave it off. Live in one room Pick the room that is easiest to hold. In winter, an interior room with fewer exterior walls. In summer, a shaded room you can cross-ventilate. Keep it close to the kitchen so the refrigerator is not a separate trip. Close doors. Hang a blanket over the opening if you need to. You are creating a small livable zone, not conditioning 1,800 square feet. Winter Heat that room only. Use a wood stove if you have one, or an indoor-rated propane or kerosene heater with working carbon monoxide alarms. An electric space heater is a last resort: 500 watts for eight hours is 4 kWh, more than the fridge, lights, and internet combined. If you use electric heat at all, use a small oil-filled radiator only while you are awake and the battery is well above empty. Sleep in layers. Protect pipes by dripping a faucet or draining lines rather than running heat tape on a dying bank. Summer Same closed-off room. Use a box fan first. If you must use air conditioning, use a small window unit in that room only, and only during the hottest hours. Cook outside. Keep the refrigerator door shut. A budget you can actually support For one room, a fridge, communications, and occasional pumping, plan on 3 to 8 kWh per day . Stay closer to 3 to 5 kWh if you skip mechanical cooling. LoadTypical daily energy Refrigerator0.8–1.5 kWh Lights, phones, router0.3–0.6 kWh Laptop or radio0.2–0.5 kWh Well or sump, short cycles0.3–1.5 kWh Room fan or brief window AC0.5–3 kWh Working total: 3–8 kWh/day From that number: Battery: about 10–15 kWh of LiFePO4 covers roughly two days of critical loads. Lithium is worth it here: you can use most of the nameplate capacity, it charges faster from a generator, and less energy is lost as heat than with lead-acid. Solar: 2–6 kW will refill a 3–8 kWh day on decent sun. Size toward your worst season, not July. Generator: 3–7 kW is enough if it is charging batteries for two to four hours, not running the HVAC. A 50 amp, 240 volt inlet is then a convenient hookup, not a promise that the whole house stays on. Do not try to cover a two-week ice storm with batteries alone. Cover ordinary outages with solar and storage. Cover the long, dark tail with fuel and load discipline.H the power should be divided Best: a critical-loads subpanel that contains only Tier 1 circuits, and maybe one Tier 2 circuit. The inverter or inlet feeds that subpanel. The main panel stays off unless you deliberately turn something on. Acceptable: the same 50 amp inlet and a panel interlock, with you turning off HVAC, water heater, range, dryer, and spare lighting by hand every outage. Do not energize an entire 200 amp panel from a modest battery and hope nobody turns on the air conditioner. Match the inlet, cord, and generator connector. A 50 amp inlet is not 12,000 watts if the generator cannot make 12,000 watts. The engine is the limit. Neutral bonding and GFCI behavior have to be correct for your specific generator and inverter. That is one of the reasons this is licensed work. How to run an outage Isolate from the utility with the interlock, transfer switch, or hybrid island mode. Shed load. HVAC off. Water heater off. Extra lights off. Close the house down to the live room. Confirm the refrigerator is on a backed-up circuit. Watch battery state of charge. Start the generator around 25–30%, charge hard, shut it down. Do not trickle-charge all night at a light load. Use every clear hour of sun. Save laundry and heavier cooking for those days. If weather stays bad and the bank is falling, drop Tier 2. Refrigerator and communications last. Test the path before storm season: transfer, start the well or fridge compressor, confirm nothing is backfeeding the meter. Equipment follows the plan, not the other way around A staged system can be an inlet, interlock or manual transfer switch, a modest inverter, 10–15 kWh of lithium, a small solar array, and a dual-fuel portable used only to recharge. A more integrated system is a hybrid inverter with a generator input, the same critical-loads discipline, and auto-start if you want less babysitting. Brands and exact kilowatt-hours change with budget and climate. What does not change is this: the panel only draws what you leave on, solar fills the batteries when it can, and the generator is for recharging—not for living like the grid is still up. The point On land, grid-down power is a rationing problem. You need cold food, some form of water, a way to call out, and one room you can sleep in without turning the outage into a medical problem. Whole-house heat and cooling is a grid luxury. In a bad week it is the fastest way to empty the bank and burn fuel for no extra safety. Plan the loads first. Size the battery and solar to those loads. Keep the generator in reserve as a charger. And have a licensed electrician permit and install the connection to your panel.
By R.T. Fagan
•
September 28, 2026
Turn legal access to water into food you can eat tonight or keep without pretending the freezer always runs --- for piers, creeks, and the coast. R.T. Fagan
By R.T. Fagan
•
September 25, 2026
A useful outage map shows more than the road home. It shows the ground you actually depend on.
By R.T. Fagan
•
September 21, 2026
When hunting or trapping is a real food path --- and when it is just gear in a closet. Education, access, ethics, and a one-week test that does not start with a trigger. R.T. Fagan