How to Preserve Venison Without Electricity During a Grid Failure
Learn the safest ways to preserve venison without grid power, including pressure canning with fuel, jerky, smoking, curing, ice and realistic emergency priorities.
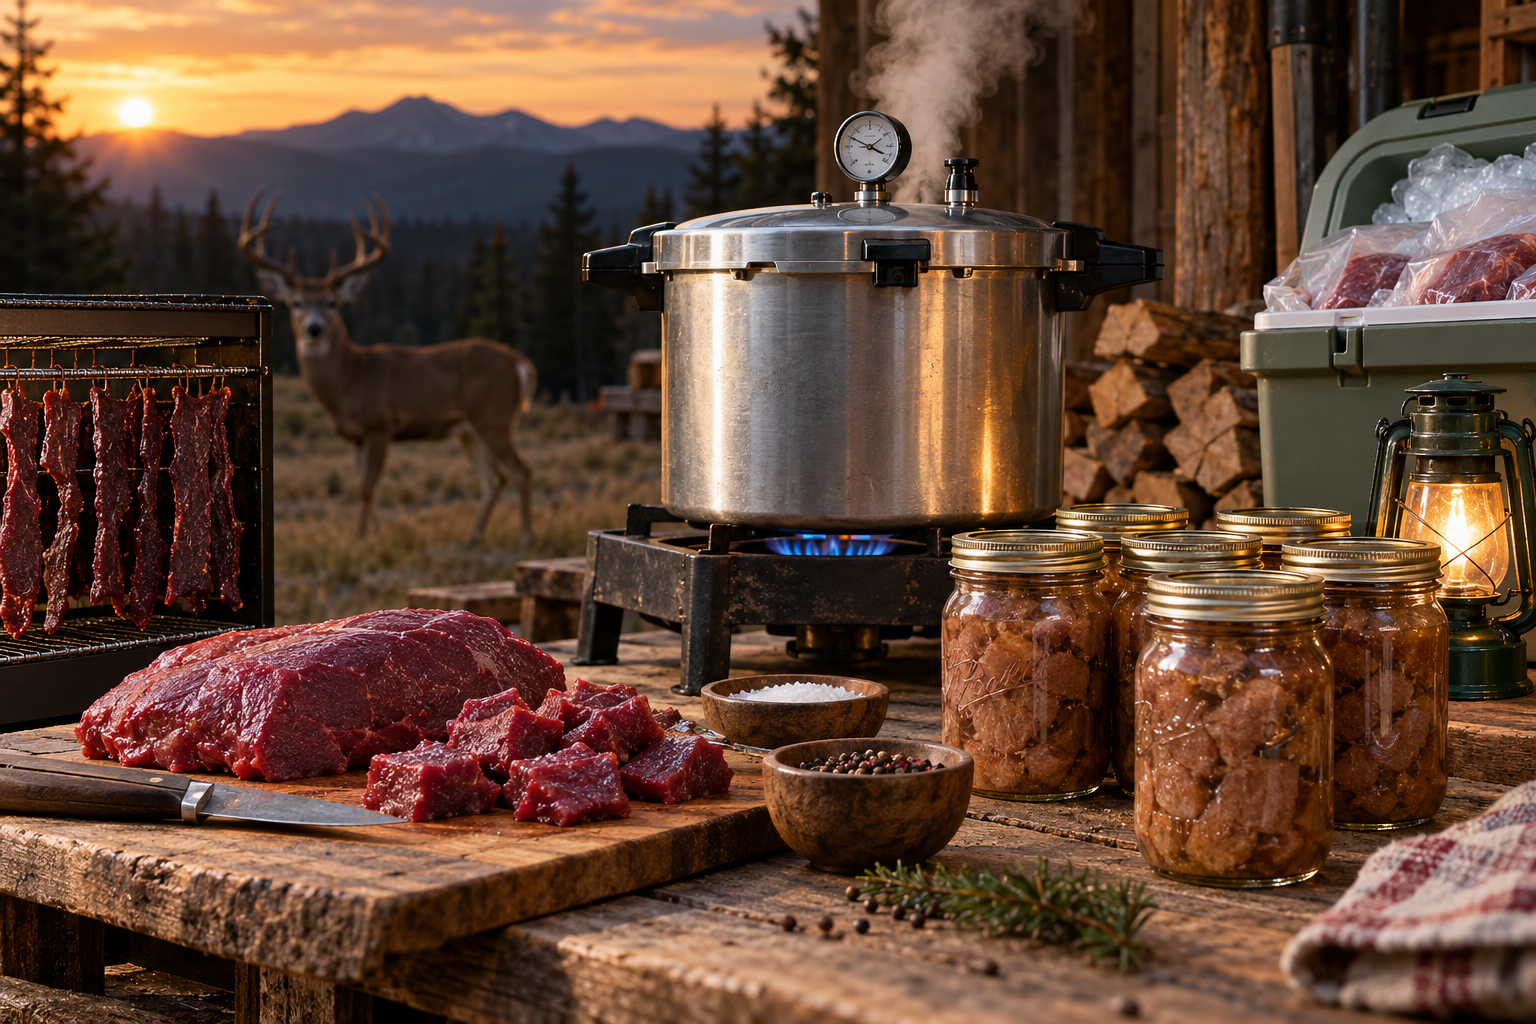
The deer is down. The grid is down. The freezer is silent.
Now the clock is running.
A harvested deer can provide weeks of protein, but only if the meat remains cold or is converted into a genuinely shelf-stable form. Without refrigeration, a successful hunt can become a pile of spoiled meat—and a serious food-safety risk—faster than many people expect.
The first lesson is uncomfortable but important:
There is no way to preserve meat without energy.
Electricity is only one form of energy. Pressure canning needs sustained heat. Jerky requires heat and moving air. Curing depends on salt, controlled temperatures and time. Cold storage requires ice or reliably cold conditions.
A grid-down plan does not eliminate those requirements. It decides how you will meet them after the wall outlet stops working.
First, Protect the Time You Have
If the venison is already frozen when the power fails, leave the freezer closed.
USDA guidance says an unopened full freezer may hold a safe temperature for about 48 hours; a half-full freezer, about 24 hours. Those numbers are estimates, not guarantees. An appliance thermometer tells you more than the clock.
Frozen meat that still contains ice crystals or remains at 40°F or below can generally be cooked, preserved or refrozen. Perishable food that has been above 40°F for two hours or more should be discarded. Never taste questionable meat to decide whether it is safe.
If the animal has just been harvested, field-dress it promptly, protect the meat from contamination and cool it as quickly as possible. Shade, airflow, clean game bags and ice can slow the clock. They do not stop it.
A grid failure does not suspend chronic wasting disease precautions. Check the rules for the area where the animal was taken, use gloves while field-dressing and follow state testing recommendations. The CDC advises never eating meat from an animal that tests positive for CWD.
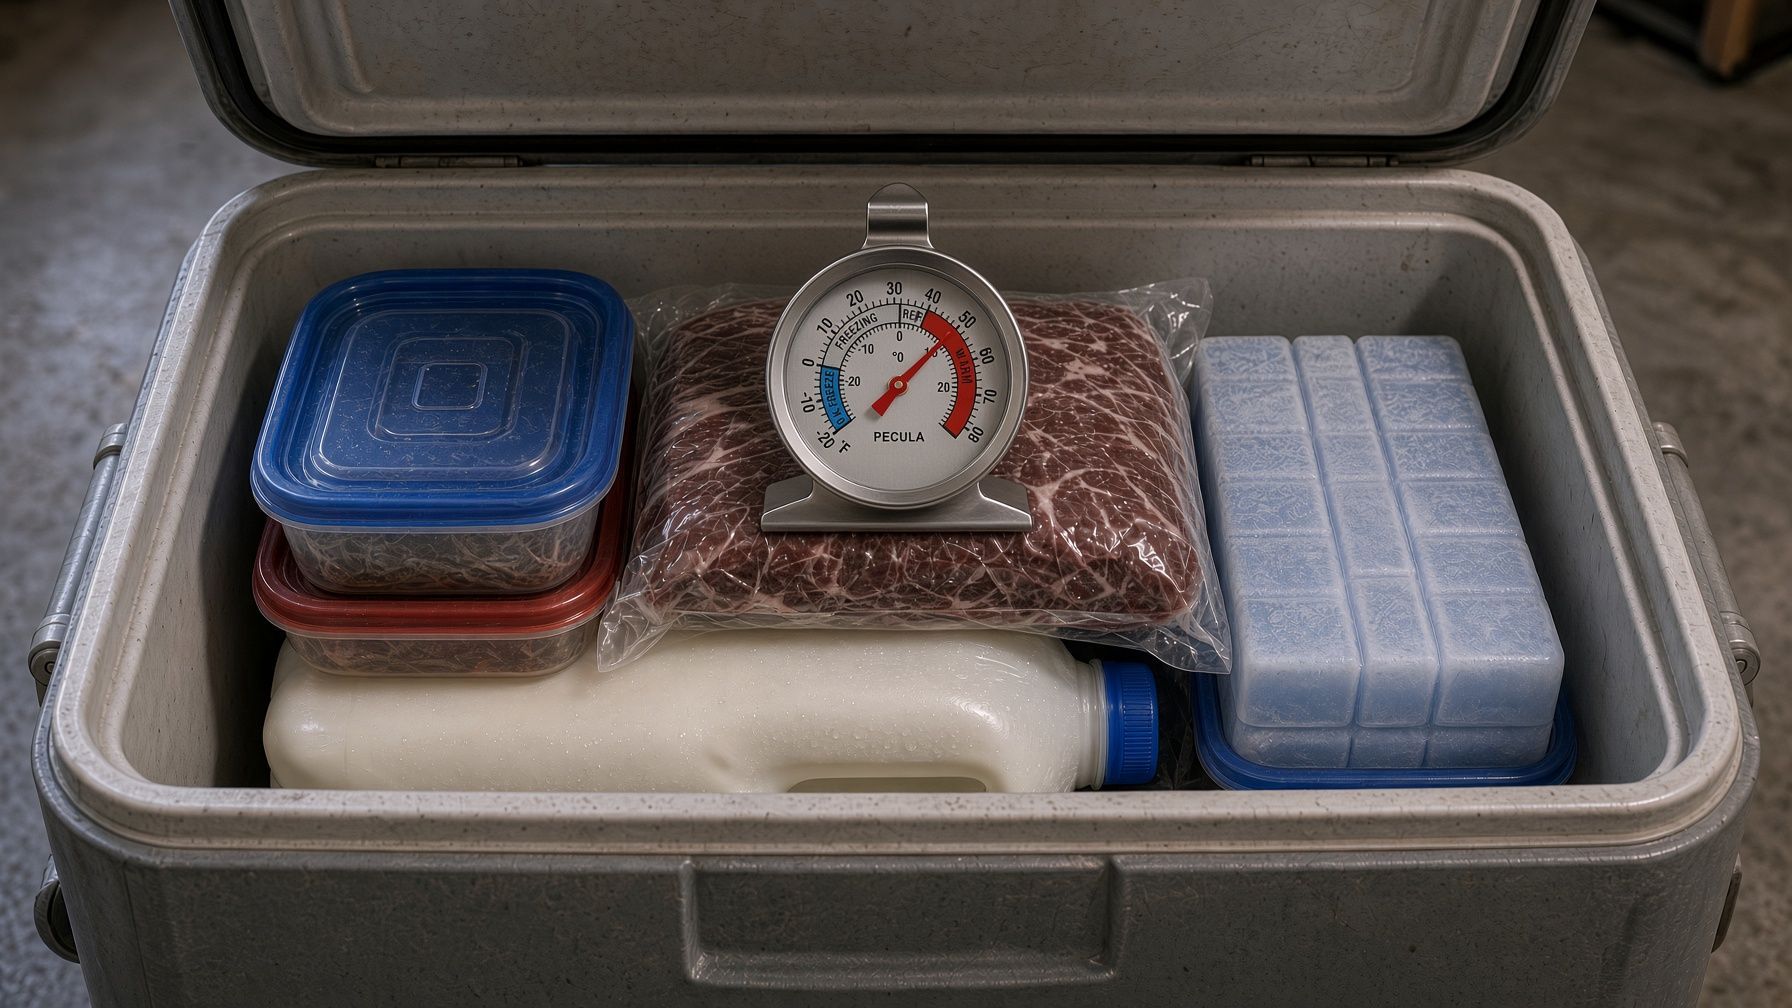
Do not place meat loose in a snowbank and call it a freezer. Outdoor temperatures fluctuate, sunlight can warm the food and animals or dirty meltwater can contaminate it. If the weather is cold enough to make ice, make ice in clean containers and use it inside an insulated cooler where you can monitor the temperature.
The goal is to keep the meat at 40°F or below until it is eaten or preserved.
The Best Grid-Down Method: Pressure Canning
For most households, pressure canning is the most useful way to convert a large amount of venison into shelf-stable food without grid electricity.
Properly canned venison:
- Needs no refrigeration while the jar remains sealed
- Is already cooked when opened
- Can be eaten cold in an emergency or reheated with little fuel
- Can be packed as chunks, ground meat, broth or certain tested combination recipes
- Avoids committing generator fuel to a freezer for months
Venison is a low-acid food. It must be processed in a pressure canner following a current, research-tested recipe. A boiling-water bath cannot make meat safe for room-temperature storage.
Do not use an oven, ordinary pressure cooker, Instant Pot or electric multi-cooker as a substitute. A lid that seals proves that a vacuum formed; it does not prove that botulism spores were controlled.
You still need a dependable heat source
A stovetop pressure canner can operate without electricity on a compatible gas burner. But “put it on any propane burner” is unsafe advice.
The National Center for Home Food Preservation warns that high-output burners can damage a pressure canner. In general, outdoor LP burners or gas burners rated above 12,000 BTUs should not be used. Some canner manufacturers prohibit outdoor burners entirely.
Before an emergency:
- Read the manual for your exact canner.
- Identify a stable burner that can support the loaded weight.
- Confirm that its heat output falls within the manufacturer’s limit.
- Test whether you can bring the canner to pressure and hold it steadily.
- Use gas appliances only with the ventilation and clearances their manufacturers require.
A turkey-fryer burner may look ideal because it produces enormous heat. That is precisely why it can be the wrong tool.
Fuel is part of the recipe
Venison typically requires a long processing period after the canner has vented and reached pressure. The entire cycle also includes heating the canner, venting it, bringing it to pressure and allowing it to cool naturally.
If pressure falls below the required level during processing, the processing time must begin again from the start. An almost-empty propane bottle is therefore more than an inconvenience.
Your grid-down canning plan needs:
- A tested stovetop pressure canner
- A compatible burner
- Enough fuel for complete batches, with reserve
- Clean canning jars and new lids
- A jar lifter, timer and canning tools
- Potable water for preparation and cleaning
- The correct processing table for your jar size, canner type and elevation
- A recently tested dial gauge, if your canner uses one
Altitude matters. Do not assume the pressure used at sea level is correct for your location.
Jerky: Useful, Portable—and Often Overestimated
Jerky seems like the natural no-power answer. Slice the meat, add salt, hang it near smoke and wait.
That is also a good way to create a food-safety problem.
Safe jerky requires controlled heat. USDA guidance calls for meat to reach an internal temperature of 160°F as part of the process. A low fire, warm day or smoky shed may dry the surface without killing dangerous bacteria inside.
A non-electric jerky system can work if it provides:
- A tested recipe
- Uniform, lean pieces of the specified thickness
- A controlled way to bring the meat to the required safe temperature
- Continued drying with clean airflow
- A thermometer rather than visual guessing
- Protection from insects, dust, animals and rain
A temperature-controlled smoker powered by wood or gas may do the job if it can reliably deliver the heating and drying steps required by the tested method. An improvised rack over a smoky fire cannot be assumed to do so.
Jerky also has a shorter room-temperature life than many preparedness discussions suggest. The National Center for Home Food Preservation advises that properly dried homemade jerky can be stored at room temperature for about two weeks in a sealed container; refrigeration or freezing extends its quality and storage life.
Jerky is excellent food for travel, security shifts and immediate consumption. It should not be treated as a replacement for months of pressure-canned meat.
Smoking Is Not the Same as Preserving
Smoke adds flavor, dries the surface and can slow some spoilage. It does not automatically make meat shelf-stable.
Hot-smoked venison, snack sticks and homemade summer sausage often still require refrigeration. Cold-smoking raw meat can hold it for hours in temperatures where bacteria grow unless the meat has been properly cured and the entire process is controlled.
In grid-down conditions, smoking works best as part of a known process—not as a vague instruction to “smoke it until it looks done.”
You need to know:
- Whether the recipe produces a shelf-stable or refrigerated product
- The correct curing ingredients and exact quantities
- The required cure time and temperature
- The smoker temperature
- The finished internal temperature
- The drying target
- The safe storage conditions afterward
If the final instruction says “refrigerate,” the product has not solved your no-power problem.
Salt Is an Ingredient, Not a Preservation Plan
Salt can reduce available moisture and is essential to many traditional curing methods. But sprinkling salt onto venison does not instantly make it safe.
Successful dry-curing depends on the amount and type of cure, the weight and thickness of the meat, temperature, humidity, airflow and time. Some processes require precisely measured nitrite or nitrate curing salts. Those products are not interchangeable with ordinary table salt, and estimating the quantity can be dangerous.
Traditional cured meats were produced by people who understood their process and had storage conditions suited to it. A damp Pacific Northwest shed is not automatically a European curing cellar.
Learn curing under normal conditions with a research-tested formula and appropriate measuring equipment. Do not make your first attempt after refrigeration has already failed.
Cold Weather and Ice Buy Time; They Do Not Preserve the Harvest
In winter, a shaded outbuilding, vehicle or porch may remain below 40°F for part of the day. “Part of the day” is the problem.
Sunlight, a warm afternoon or a closed vehicle can move the meat into unsafe temperatures. Nighttime freezing followed by daytime thawing also damages quality and makes temperature history difficult to track.
Use cold weather strategically:
- Freeze water in clean containers outdoors, then move the ice into insulated coolers.
- Keep meat sealed from animals, dirt and meltwater.
- Place a thermometer inside every cooler or cold-storage space.
- Record temperatures instead of relying on how the air feels.
- Treat outdoor cold as a temporary bridge to canning, drying, cooking or transport.
If you cannot prove that the meat stayed at 40°F or below, you cannot assume it remained safe.
Cooking and Sharing Are Valid Triage
Cooking meat does not preserve it indefinitely. Once cooked, it is still perishable.
But during the first stage of a long outage, using some meat immediately may be smarter than trying to preserve every pound. Feed the household. Share with neighbors who are contributing labor, fuel or equipment. Trade only while the meat remains within safe time and temperature limits.
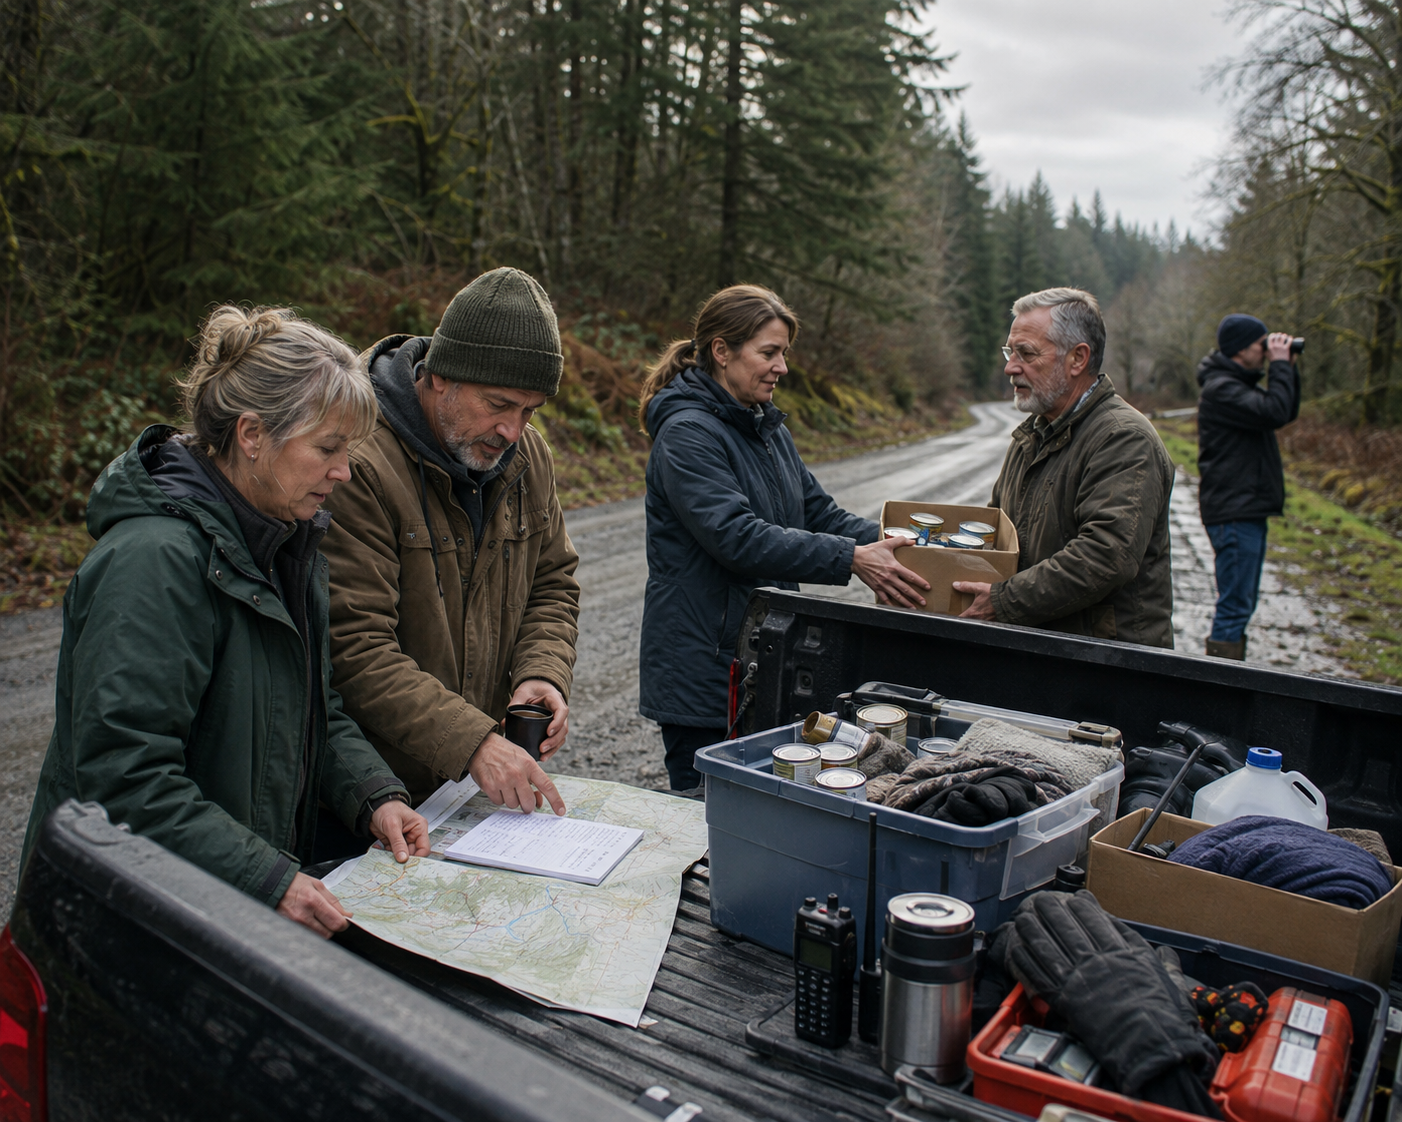
In a functioning community, surplus meat can be divided among several preservation systems. One household may have jars and a pressure canner. Another may have a compatible propane range. Someone else may have ice, a working freezer or a proven jerky setup.
Relationships can preserve food too—provided the food-safety standards do not change.
What Will Not Safely Preserve Venison
Several methods may change the meat without making it safe for shelf storage:
- Vacuum sealing: Removes air but does not kill pathogens or eliminate the need for refrigeration.
- Water-bath canning: Cannot safely process low-acid meat.
- Oven canning: Is not a tested canning method and can cause jars to break.
- Electric multi-cooker canning: USDA processes were not developed for these appliances.
- Cold smoke alone: Adds smoke but may leave the meat in unsafe temperatures.
- Light salting: Is seasoning, not a validated cure.
- A snowbank or cold porch: Cannot guarantee a continuous safe temperature.
- Cooking and leaving it out: Produces cooked perishable meat, not shelf-stable food.
- Trusting smell or appearance: Dangerous meat may look and smell normal.
Preparedness does not make microbiology negotiable.
A Grid-Down Preservation Order
When the power fails, work in this order:
1. Measure
Check the actual temperature of the meat and cold-storage spaces. Write down when the outage began and minimize freezer openings.
2. Extend the cold window
Use safe ice, insulated coolers and any backup power already assigned to refrigeration. Do not spend all your fuel simply postponing a decision.
3. Decide before thawing everything
Calculate how many canner loads you can complete with the jars, lids, water and fuel available. Decide how much jerky your tested setup can safely process. Keep the remaining meat cold while each batch is prepared.
4. Preserve the largest share by the safest dependable method
For most prepared households, that will be pressure canning. Use jerky for a smaller portion intended for near-term use and mobility.
5. Cook, share or discard the remainder
Do not risk illness to save the final few packages. During a grid-down emergency, severe vomiting and diarrhea are more dangerous—not less—because clean water and medical care may already be limited.
Build the System Before You Need It
A realistic no-power venison kit includes:
- A stovetop pressure canner you have already used
- A heat source approved for that canner
- Stored fuel
- Jars, lids and spare canner parts
- Printed processing tables for venison and broth
- An elevation note written directly on the instructions
- Appliance and probe thermometers
- Coolers and clean ice containers
- Knives, cutting boards and sanitizing supplies
- A manual meat grinder, if ground meat is part of the plan
- A tested jerky recipe and proven drying setup
- Salt and correctly labeled curing ingredients for recipes you already know
- Clean water and a plan for disposing of waste away from the water source
Run one complete pressure-canning batch without household electricity. Time it. Measure the fuel and water used. Learn how your burner behaves in wind and cold while your safety does not depend on getting it right.
That test will reveal whether you have a preservation plan or merely preservation equipment.
The Hard Conclusion
Hunting during a prolonged grid failure may provide valuable protein, but it also creates immediate work. The more successful the hunt, the larger the preservation problem.
Without grid power, the dependable choices narrow. Pressure canning becomes the main shelf-stable method for most households. Jerky provides portable, shorter-term food. Smoking and curing are useful only when backed by tested procedures and practiced skill. Ice and winter weather buy time but do not finish the job.
The animal is not food security when it falls.
It becomes food security when the meat is safely preserved without depending on the power coming back.
Safety Sources and Further Reading
- USDA FSIS: Keeping Food Safe During a Power Failure
- FoodSafety.gov: Food Safety in a Disaster or Emergency
- National Center for Home Food Preservation: Using Pressure Canners
- National Center for Home Food Preservation: Meat—Strips, Cubes or Chunks
- National Center for Home Food Preservation: Jerky
- USDA FSIS: Jerky and Food Safety
- CDC: About Chronic Wasting Disease
Food-preservation safety depends on exact equipment, recipe, elevation, time and temperature. Follow current USDA, National Center for Home Food Preservation or Cooperative Extension instructions for the specific method and equipment you use.
Preparedness is only the beginning. The Ridge Plan explores what happens when stored supplies are no longer enough—and ordinary neighbors must turn preparation into decisions, trust, and survival.