Don’t Wait for the Lights to Go Out: Build a Well Bucket That Actually Fits Your Well
A step-by-step guide to sizing, building, and using a PVC bailer so you can pull drinking water by hand when the pump is dead.
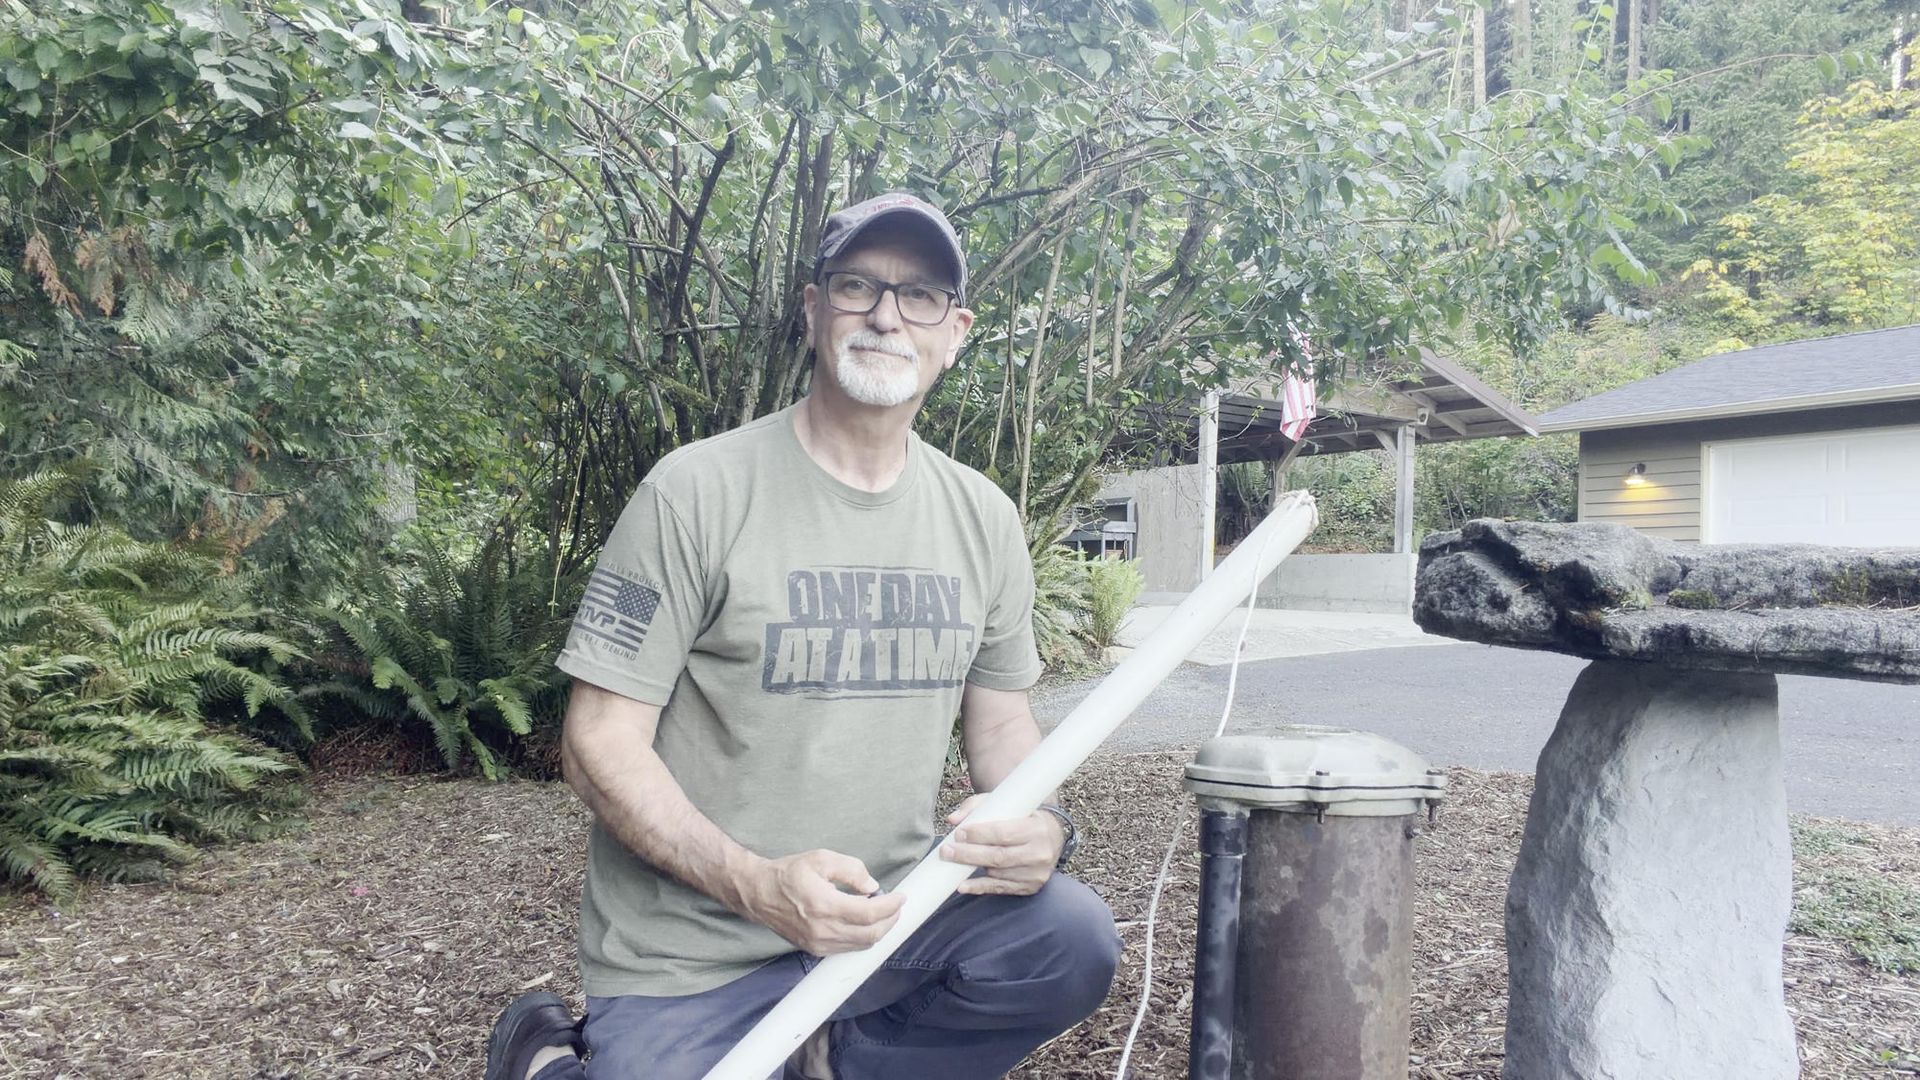
A well bucket (also called a bailer, bullet bucket, or torpedo bucket) is a long, narrow cylinder with a one-way valve on the bottom. You lower it into the well casing, it fills from the bottom when it hits water, the valve closes when you lift, and you haul the water up by hand, pulley, or windlass.
It is emergency backup for a drilled well when the electric pump is dead. It is not a wishing-well decoration and it is not a regular 5-gallon pail. A household pail will not fit down a 4- or 6-inch casing.
The single most common failure is building a bucket that is too fat for the casing, or leaving the pump and wires in the hole so the bucket snags. Size the bucket first. Build second.
How it works
Water enters through a bottom valve (a foot valve, a spring-removed check valve, or a rubber flapper). When the cylinder is submerged, the valve opens. When you lift, the weight of the water seats the valve shut. You raise a sealed column of water, then dump it at the surface.
Water weighs about 8.3 lb per gallon. A 2-gallon bucket is already ~17 lb plus the PVC. Plan the lift accordingly.
Step 1: Measure the well so the bucket actually fits
Do this before you buy pipe.
1. Shut off the well pump at the breaker. Do not skip this.
2. Remove the well cap (usually three bolts). A typical sanitary cap sits on a short length of steel or PVC casing sticking out of the lawn.
3. Shine a light down the hole. Note whether you see:
- A drop pipe (the water line)
- Pump wires
- A liner or pitless adapter (a shiny ring a few feet down is often a liner)
4. Measure the **inside diameter** of the casing, not the outside. Use a tape across the open mouth at the widest point.
Typical residential casings are 4", 5", 6", or 8" nominal. A 6-inch steel casing is the most common modern household size.
**Critical rule:** the finished bucket, including end caps and fittings, must slide freely with clearance. Slip-on PVC caps are larger than the pipe itself. Leave at least ½ inch of total slop so the bucket does not bind on rust, joints, or a liner.
Recommended DIY pipe vs. casing
Schedule 40 PVC outside diameters (the number that matters for fit):
| Nominal PVC | Outside diameter | Typical well it will fit |
|---|---|---|
| 2" | 2.375" | 4" casing, or a 4" casing that still has a pitless adapter |
| 3" | 3.500" | 5" casing, or a clean 4" casing if fittings stay slim |
| 4" | 4.500" | 6" casing or larger — **will not fit a 4" well** |
Commercial buckets follow the same idea: a “4-inch” heavy-duty bucket is about 5" outside and is meant for 6" casings; slim 3" buckets are for 4" casings. Always choose the largest diameter that still drops freely — more water per trip.
Capacity so you know how many trips you need
Volume of a cylinder:
\[
V = \pi r^{2} h
\]
One gallon = 231 cubic inches. Approximate usable capacity of Schedule 40 PVC (inside diameter, not the printed size):
| Pipe | ID (approx.) | Gallons per foot | 3 ft bucket | 4 ft bucket |
|---|---|---|---|---|
| 2" Sch 40 | 2.07" | 0.17 | 0.5 gal | 0.7 gal |
| 3" Sch 40 | 3.07" | 0.38 | 1.2 gal | 1.5 gal |
| 4" Sch 40 | 4.03" | 0.66 | 2.0 gal | 2.6 gal |
A 4-inch pipe, 4 feet long is a practical target for a 6-inch well: roughly 2.5 gallons and about 21 lb of water. Longer than 4–5 feet gets awkward to handle at the wellhead.
Also measure static water level and total depth
Tie a small weight (a nut) on a string. Lower it until you hear/feel the “bloop” of water. Mark the string. That is static water level — often much shallower than the drilled depth (a 245-ft well might have water at 80 ft).
Your rope must be **static water level + at least 10 ft of submersion + 20 ft extra at the surface** for tying off and wrapping a pulley. Write both numbers down and keep them with the bucket.
**Pump and wire warning:** If a submersible pump, drop pipe, and wires are still in the well, a bucket will tangle. On many wells you must pull the pump before a bucket is usable. Know how to do that, or hire it done, *before* you need water. Do not drop a bucket down a live, wired well and hope.
Step 2: Gather materials
For a standard **4-inch PVC bucket for a 6-inch well** (scale the pipe size down for a smaller casing):
- 3–4 ft of 4" Schedule 40 PVC
- 4" PVC slip cap (bottom)
- Foot valve or spring-check valve sized to a hole you can drill in the cap (¾" or 1" is common). Remove the spring if the valve has one — the well bucket must open and close by water weight, not spring tension.
- Male adapter / bushing to thread the valve through the cap
- Rubber or leather washers/gaskets for the cap hole
- PVC primer and cement
- ¼" or ⅜" stainless or galvanized bolt, 4–5" long, plus nuts and washers (rope attachment)
- Braided polypropylene rope, ½" if you will pull by hand (not twisted rope — it spins and frays). Length as calculated above.
- Optional: pulley, tripod or windlass for deep wells
- Tools: tape, drill and bits, hacksaw, wrench, sandpaper, file
Budget alternative valve: a 4" × 2" (or 3" × 2") PVC reducer plus a cut-down toilet-tank flapper held by three short screws or two wires. Cheaper, slightly leakier.
Sanitize everything that will go in the well with a weak bleach solution before first use.
Step 3: Build the cylinder
1. Cut the PVC square. Deburr inside and out so nothing catches on the casing.
2. Dry-fit the bottom cap. If the cap’s outside diameter is too fat for your measured casing, switch to a method that keeps fittings inside the pipe diameter, or step down one pipe size.
3. Drill two holes opposite each other 1–2 inches below the **top** rim. These take the cross-bolt the rope ties to. Center the rope with nuts so the bucket hangs straight and does not saw the casing.
4. Do **not** glue the top closed. You need the open top to dump water (unless you add a commercial-style dump lever, which is extra work).
Step 4: Install the bottom valve
**Preferred: foot valve in the cap**
1. Drill a centered hole in the slip cap sized for the male adapter.
2. Pass the adapter through from the inside of the cap. Gasket on both sides. Tighten.
3. Thread the foot valve onto the adapter **so water can flow up into the bucket and cannot flow back out**. Orientation is the whole device. Get this wrong and you lift an empty pipe.
4. If the valve has a spring, pull the spring out so the flapper moves freely.
5. Prime and cement the cap onto the bottom of the pipe. Hold it for a full minute so it does not creep. Cure per the can (often 2 hours before a water test, 24 hours before load).
**Budget: toilet flapper + reducer**
Cement a reducer on the bottom so the opening necks down. Seat a rubber flapper over that opening. Retain it with three equally spaced short screws or two wires so the flapper can lift off the seat when it hits water and slam shut when you lift. The water column is what seals it.
Add weight at the bottom if a dry test shows the empty bucket floats instead of sinking. A short wrap of steel or a window weight on the cross-bolt works. The filled bucket will be heavy enough on its own.
Step 5: Attach the rope and a stop
Tie the rope to the center of the cross-bolt with a knot that will not slip when wet (bowline plus backup, or spliced eye). Leave a large stopper knot, washer stack, or carabiner on the free end so if you drop the line it cannot disappear down the casing.
Coil the rope so it pays out cleanly. Dirt on the rope becomes dirt in the well — keep the coil off the ground.
Step 6: Set up the lift (optional but worth it)
Hand-over-hand is fine for shallow water. Past ~50–80 feet, or with a 2-gallon load, a pulley over the center of the wellhead is much safer. A simple tripod or two posts with a crossbar is enough if it is rated for 50–100 lb hanging load. A windlass / crank keeps you from losing the line. Never let the bucket free-fall.
Step 7: Test before you need it
1. Test the valve in a stock tank or barrel first. Submerge, lift, check for a hard seal and only a drip.
2. At the well: breaker off, cap off, pump out if required.
3. Lower slowly until you feel the bucket go slack in water, then feed another 3–5 feet so it fully floods.
4. Raise slowly. No jerking — that can unseat the valve or bang the casing.
5. Dump into a clean container. Do not rest the wet bucket on soil.
6. Replace the sanitary cap when you are done.
If the bucket hangs up, stop pulling hard. Work it gently. Forcing a jammed bucket can drop it or damage the casing.
Using it in a real outage
- Sanitize the bucket and the first few gallons if the well sat open.
- Keep hands and dirty rope out of the discharge stream.
- Drain the bucket completely before storage so it does not freeze or grow slime.
- Store the measured spare rope with the bucket. Water tables move.
Common mistakes
- Building a 4" PVC bucket for a 4" well. The pipe’s 4.5" OD plus a cap will not go in.
- Leaving the pump in and wrapping the bucket around the drop pipe.
- Using twisted rope that spins and frays on the casing rim.
- No stopper on the free end of the line.
- A valve installed backward.
- A bucket so long you cannot control it when it comes over the rim, full.
If you would rather buy than build, commercial well buckets exist in 2", 3", and 4" classes sized to the same casings, often with a top lever so you empty without tipping. The DIY version above is the same machine, made from hardware-store parts.
Measure the casing twice. Cut the pipe once. Test the valve in a tub before you ever put it down the well.
Preparedness is only the beginning. The Ridge Plan explores what happens when stored supplies are no longer enough—and ordinary neighbors must turn preparation into decisions, trust, and survival.


